
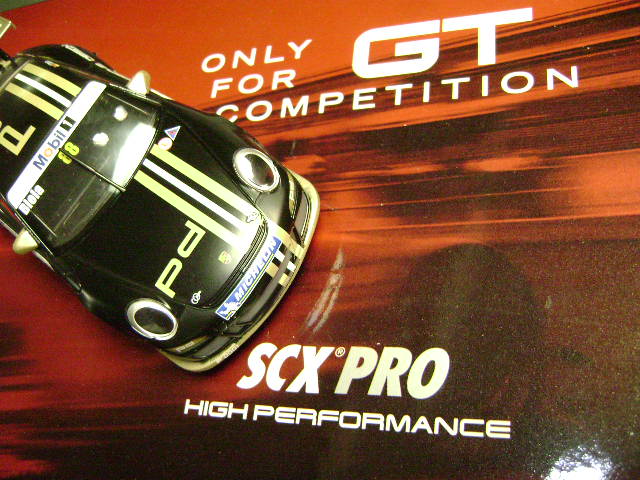
 SCX Pro-High Performance Porsche 911 GT3 Cup Review By Shawn Smith SCX is one such company that has entered in to the manufacturing of cars that break away from their traditional offerings to cater to the competition arena of slot car racing and up to this point their focus has been on LMP style cars such as the SCX Pro-Audi that Harry Wise reviewed almost an exact year ago and we also have a great independent review in our archives from board member Dan Dyke on the same Audi LMP car. What showed up on my doorstep, a little more than a week ago, was something entirely new however. The new SCX built GT warrior, the Porsche 911 GT3 Cup car, is now ready to tear up the non-LMP classes and being a big fan of GT class racing this little beauty was something I have been looking forward to seeing. There are a lot of similarities to the LMP offerings I have already discussed, so we're not going to re hash it too many times, yet these cars have so much to 'tinker' with that much of it demands revisiting. We... are about to light the fires and burn some rubber! 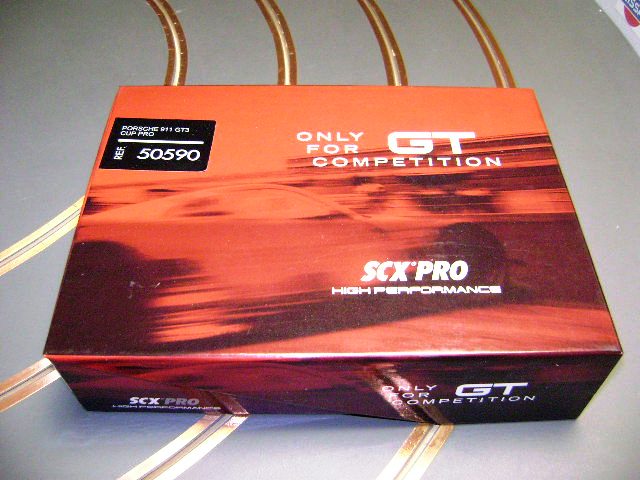 From the outside there is nothing beyond a sticker on the lid to point out what is inside the SCX Pro-Performance red box. Packaging is along the lines of other, dare I say 'special' or 'limited edition' cars from other manufacturers but this glossy red box signifies that this is SCX's idea of a top of the line performance machine. The box states is very plainly, 'Only for competition', so its clearly labled and marketed as something more than the average home user should require. 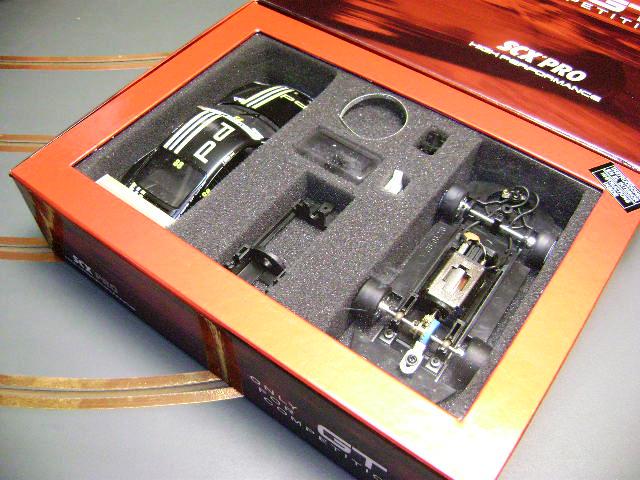 Flipping the top open there is a second panel with a clear plastic window covering all the goodies this box holds within. On the left we find a close to flat black Porsche 911 body shell, the right side holding a fully prepared and ready to run chassis and between the two a small gathering of optional and replacement parts. 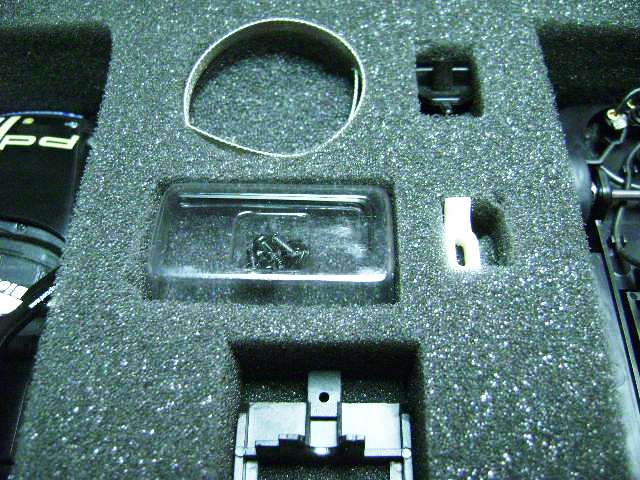 Top left SCX have provided a couple of inches of spare braid and next to that an additional guide flag. Below them a small plastic container holds body screws and spare set screws as well as the wrench needed to make adjustments to various chassis components. Right beside that a little white rubber 'gizmo' is nestled in the foam and below all of it a second motor pod is provided. 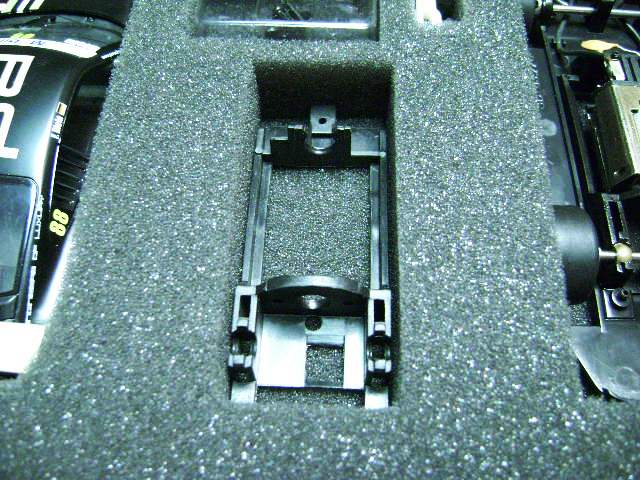 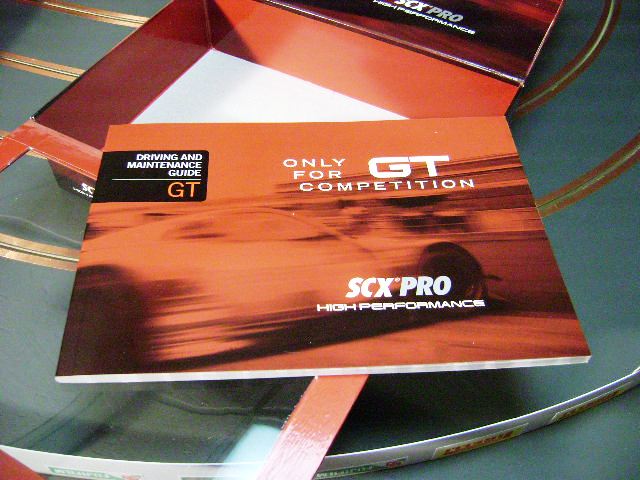 Removing the entire foam tray you'll find a book provided titled 'Driving and Maintenance Guide'. This handy little book, written in nine different languages, provides all of the basic information on the various tuning aspects of the car as well as offers some pretty nice information on aspects of driving and keeping cars running their best. 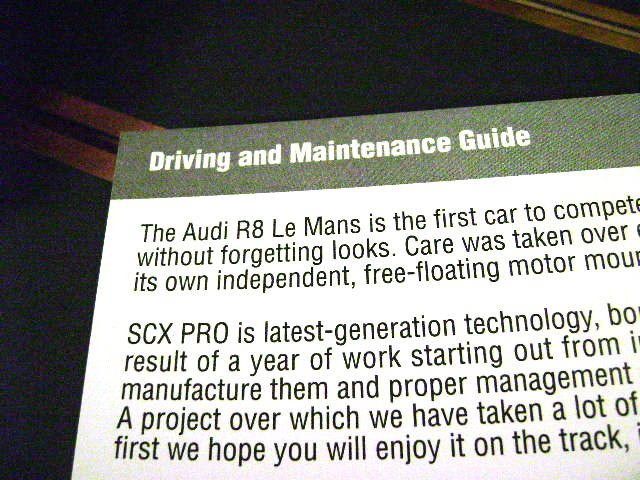 Although it mentions the Audi in its text, and the graphics are all of the Audi, the adjustments for this GT Porsche are all the same so don't worry about references to a different type of car. 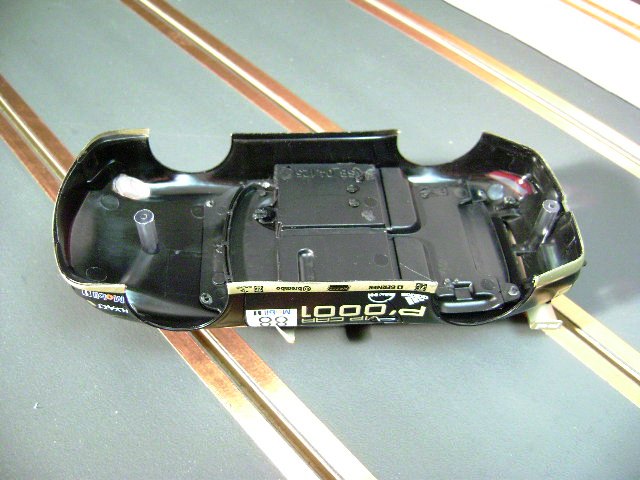 Finally getting to the car itself I first pulled out the body to have a look. Knowing the first released Audi's were very light I wanted to see how the GT body stacked up and wow is this little body thin! 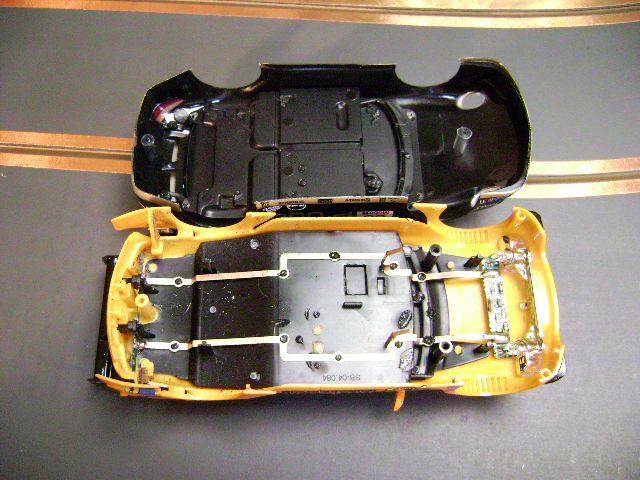 Comparing this body shell to a more traditional SCX offering some glaring differences are present, or is it lacking, things such as no LED circuit boards or the copper power feeding system of the lit car. Our competition Porsche also has a much more shallow interior tray. 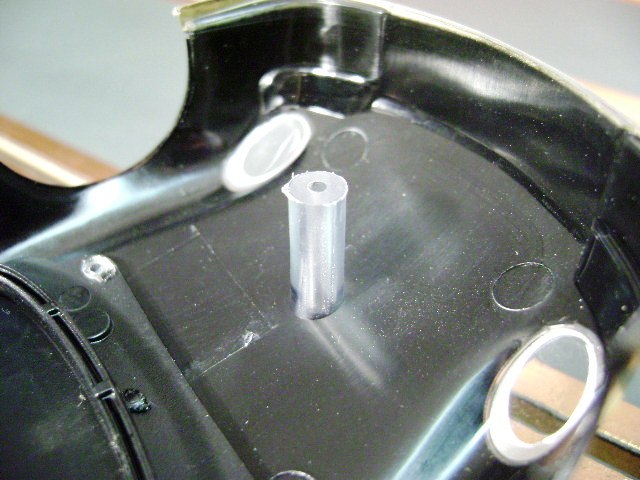 The body posts reflect a clear base body and the posts themselves are thicker on this body than the stock DTM version I opened to compare. 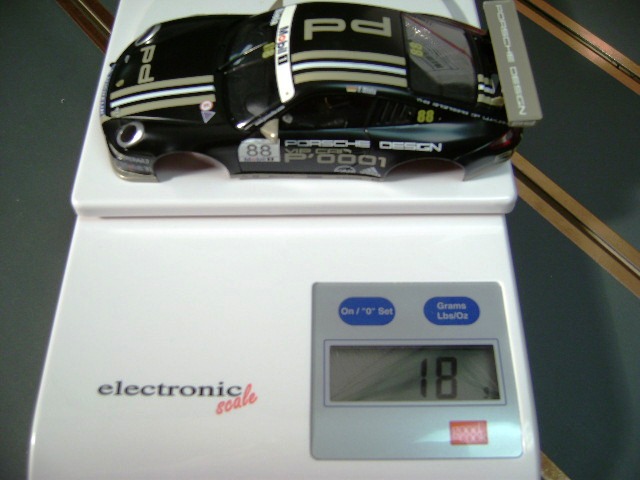 Overall weight savings is significant. Checking it on my not-so-scientific scale the competition body weighs in at a slight 18 grams. In contrast the more standard DTM body tipped the scales at a more healthy 32 grams. All put together the difference carries over to the total weights with the Porsche showing 76 grams on the scale to the 92 grams of the Mercedes DTM. 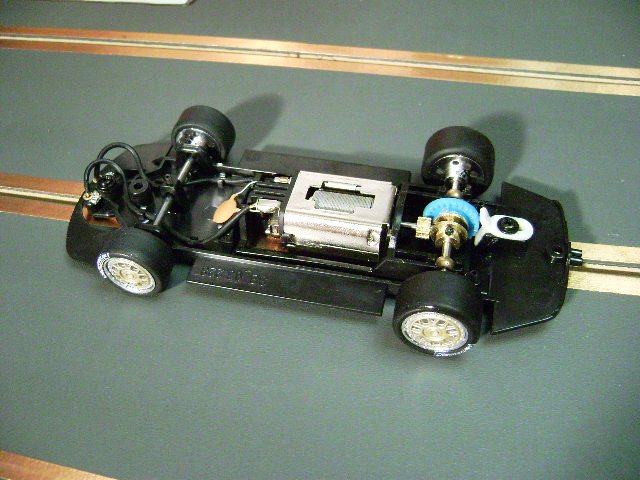 Getting our first look at the chassis there is a whole lot to like here. Adjustments abound and there is a lot to tinker with and there are many features that I personally wish came as standard on traditional offerings.  Side by side once again with out DTM cars chassis and wow, this might not be such a good comparison after all. Not having another SCX Porsche to compare with our DTM is a much longer wheelbase car. The motor distance to the front axle is of interest although I'm not convinced the shorter Porsche chassis will be an advantage. Other glaring differences? A set screw rear gear would be a good start, followed perhaps by a screw secured guide system using traditional wired connections instead of the more 'gadgety' tab system of the normal cars.   The most significant difference will likely be the motor with this Pro Porsche being fitted with the SCX RX-4H motor, SlotCarNews.com motor tested at 27,282 at 12-volts. The DTM in contrast is fitted with the RX-42B motor tested to provide a more mild 18K of RPM's at the same 12-volt supply. Already I see a pretty uneven match-up but its important to remember the 'horses for courses' theory I'll get to later.  Beyond the motor the next most important feature has to be the motor pod of the Pro-car. Unlike the standard design which acts mostly as a slight pivot cradle the new pod has a drastically more noticable front to back and up and down range of motion. Notice above the gap at the back of the pod near the gear when under full acceleration. Via design this pod slides a great deal forward, or maybe I should say it allows the rest of the chassis and body to slide backwards under power, and when braking this design then allows the rest of the chassis to slide forward which closes that gap between the sections. 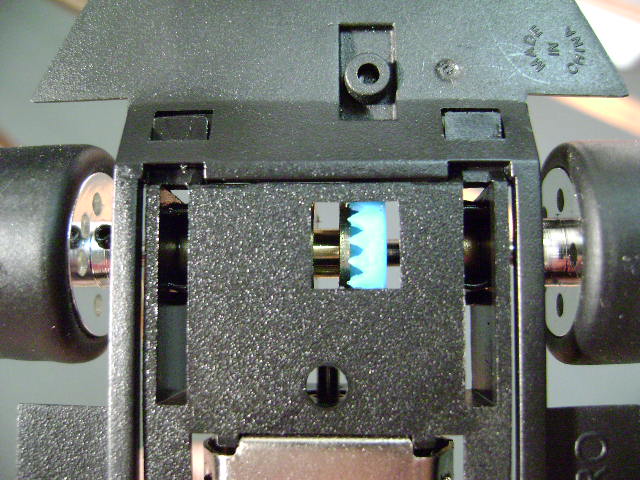 This is accomplished through cut outs in the chassis that allows the tabs of the pod to move quite a bit. Of course this can be tightned down via set screws built in to the chassis but left loose you can see below how the tabs slide in and out to offer the freedom of movement. 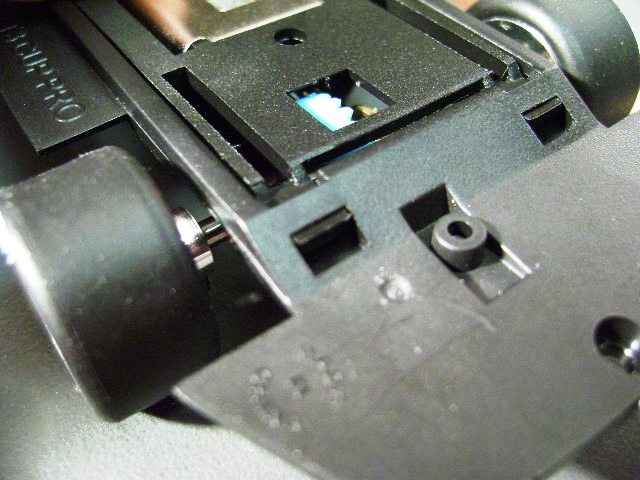 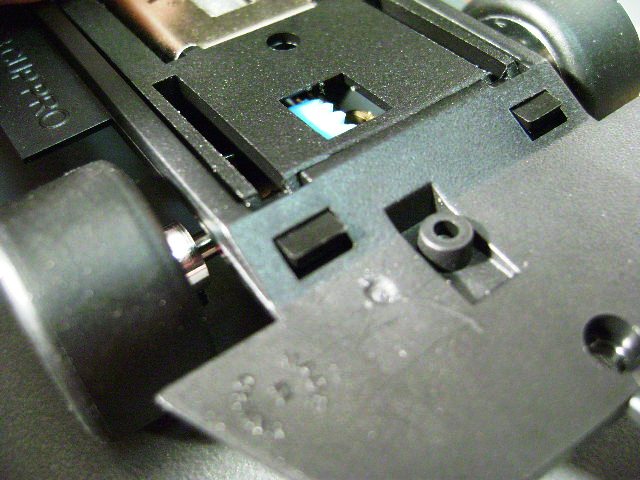 Now this range of motion alone might not impress many but that is where that little white rubber 'do-hicky' behind the gear comes in to play. That do-hicky is an adjustable braking feature and quite an impressive little design. 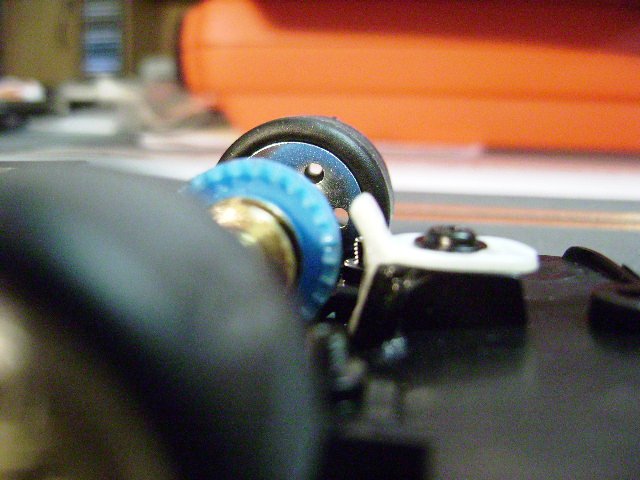 Above you can see the gap between the gear and this rubber brake under the slid forward position of the pod during acceleration. Below, as the car is in deceleration the body/chassis slides forward forcing the pod itself back in the car and the gap between the gear and the brake closes. As my test car came out of the box the brake made no contact at all with the gear however this brake position is adjustable as well so with a losening of the screw you can push the brake up towards the gear until they touch.  My best advise here is to play around with how much pressure this causes on the gear. I set mine up so that there was what I would consider very slight friction on the gear when they make contact. You can of course set this friction to be far greater however having read Dan's and Harry's reviews I knew that setting this brake too close would result in a braking action that might be counter productive, in other words too much pressure ends up locking up, or binding the gear to the point of causing some skidding under braking.  Brake set, a drop of oil in all the right spots for good measure and nothing else done to the car I set off for box-stock test laps. My first 'visual' observation is that I agree with previous Pro-car reviews that the small wheels used on many professional grade cars look rather silly in relation to tire to fender clearance, especially in the front. Understanding there are levels of adjustments to be made here it makes sense to have room for movement but I really think this could be done using better size appropriate wheels.  Taking my initial warm up laps I already knew this new motor was a beast compared to the RX-42s I was used to. My Porsche shot off like a rocket and before I knew it I was sliding sideways in turn one ending in an abrubt deslot. 'Gotta drive it differently' I reminded myself and began to rethink my SCX driving process.  Even before the end of my first lap I detected a problem with the car and by the sound of it I had a tire that wasn't properly seated on a rim. Comparing the sound to an out of round marble rolling down the track I stopped and targeted the front tires as the first things to look at. After just a handfull of laps I could tell by markings on the tires that the outer edges were higher than the center of the tires but that alone wouldn't make the sound I was hearing. Removing the front tires and closing them in my hand to slightly warm them I looked to the front of the car to see how the wheels sat on the track surface.  Right on it... was the answer I got. Even without the tires on the wheels the rims made full contact with the track and under push I could tell the rims were fully supporting the front end. Wanting my guide as deep in the slot as possible it made sense to me that I needed to raise the front wheels off the track so that once I reinstalled the rubber my guide wouldn't be lifted.  Checking first the set screw over the center of the front axle I verified that this was backed all the way out so that I could raise the axle without this restricting movement. If you look close enough under the axle you can also see how with the rubber back in place the set screws come no where near supporting the front axle so adjustments would be needed.  Finding the set screws in the bottom of the chassis I installed the supplied wrench and began turning these up. Whether intentional or not by SCX each turn of the wrench caused a 'click' in the screw and I could count how many changes I made on one side so that I could 'click' the same number of turns to the other screw. Raising the screws a few clicks at a time I went back to the track and checked for clearance frequently.  My end result was the tires still making contact with the track when on however removed I could now see that the rims themselves were in fact sitting higher in the chassis so I still had front end support by the wheels without it adversly affecting guide depth.  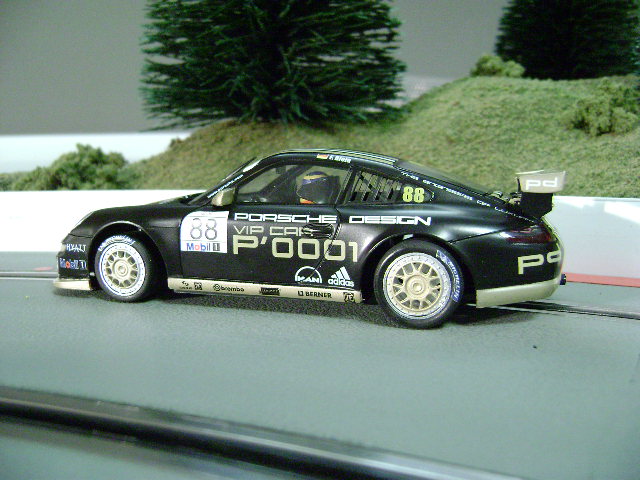 Some of the front fender gap closed I was visually more pleased but I was checking to see if I had sorted out the front tire vibration and in fact I had. Less weight carried on the front wheels with reseated front rubber and my noise was fixed. I had also warmed and reseated the rears while working on the car so with some tire sanding I was back to the track for more running. 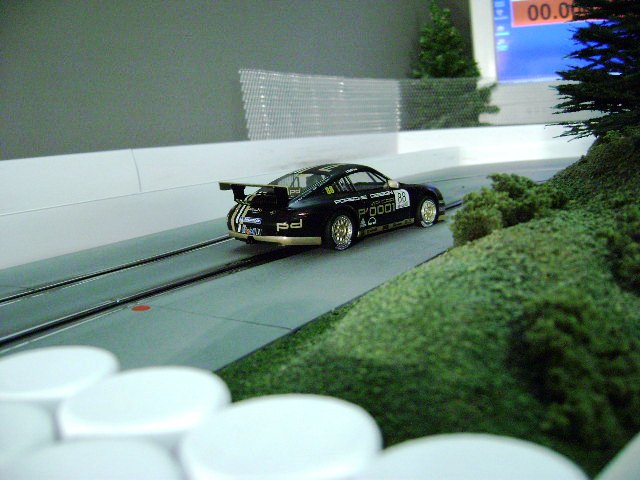 I have to be honest here and tell you that feeling 'good fast laps' wasn't all that easy for me. I race the majority of my cars with the stock magnets in place so I have a great feel for what type of magnet set up works the best on my track. Non magnet I had to rely on the timing software to show me how my laps were looking and with what few adjustments I made plus sanding the rears the timer showed an 8.114 second lap at 14 volts on my flat-acrylic painted Carrera track. If this were a mag car test I would have cried foul by now as the mag equipped DTM Mercedes had run around the 6 second mark during its test. No mag tests of the Mercedes changed the story though as the reduction in RPMs and the lack of traction found the DTM to have issues making a lap under 9-seconds. 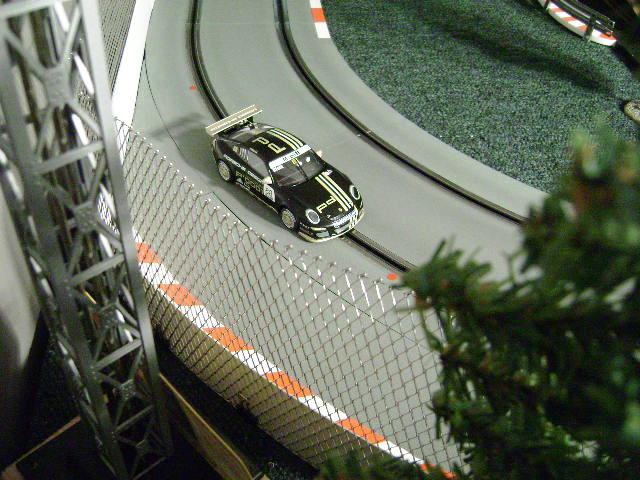 In fact the fastest no-mag time for my DTM Mercedes ended up being 8.947 and that is already close to a second slower than the Pro-Porsche with no real adjustments. Turning pod screws in to reduce some of the pod freedom and backing off the rubber gear brake I started seeing the Porsche drop below the 8-second mark and the timer showed the fast lap of the run to be a pretty nice 7.528 seconds. Tires were an issue on my track as after taping I had a window of maybe 10 trouble free laps and then they seemed to fade requiring cleaning again. I'll be playing around with known good tire replacements for my track soon although for the sake of the review I won't bother sharing. What works best on my Carrera painted surface might not apply for the track you run on. 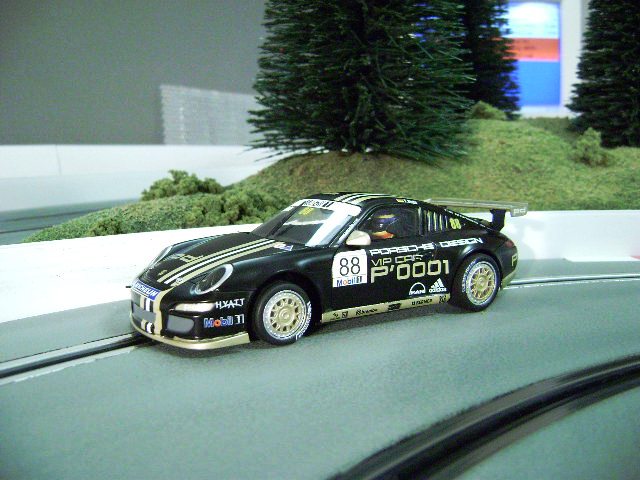 And the same can be said for the adjustments as well. I mentioned 'horse for courses' earlier and this is going to be one of those cars where its going to help you or it isn't. No mag driving my tight 60-footer doesn't benefit this car as much as it might if the car were running on a larger latex painted routed track. Even on my routed oval the small size of my bull ring couldn't effectively use any of the motors power although after adjustments I could tell you it was as smooth as warm butter and easy to control if I could resist too much throttle down the straights and out of the turns. Willing to bet if I got this bad boy on a larger commercial grade routed track this car would easily shine. Those of you racing in that type of environment I would love to hear your feedback once you get your hands on one of these. 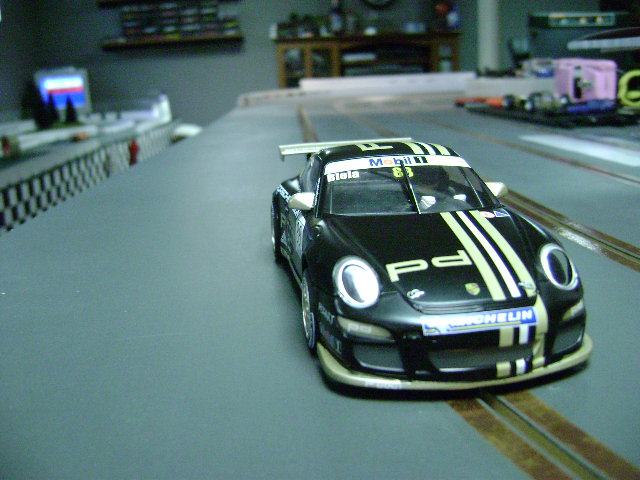 The Final Verdict: 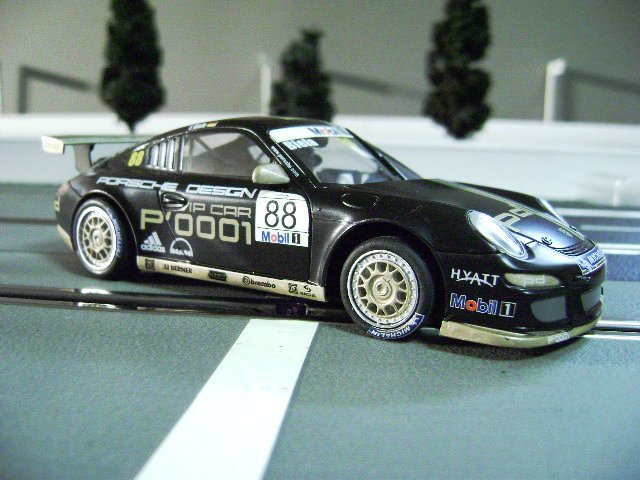 Not being much of a no-mag racer the advantages of this Pro-Performance car aren't totally lost on me. It's clearly a very capable racer and given the right track I have zero doubt this car would be a true performer. With set-screw metal wheels all around, set screw gearing, motor pod adjustments, axle carrier adjustments, rigid guide and bullet-proof hard wired connections this 'only for competition' car has all the goods even us stock magnet racers would love to see in more cars. If SCX could give me a pod for this car to run their standard mag set up I wouldn't mind a bit but this isn't the type of racing SCX intended for this car. Those of you who can benefit from the light weight, increased RPM motor and the great adjustability of the Pro Porsche should be more than pleased with its design and tunability for your racing needs. Thanks to SCX Worldwide for providing the new Pro-Performance Porsche 911 GT3 for review. Please stop by the HomeRacingWorld.com Message Board to talk about this and all other models of slot cars. Feel free to email me at the address below if you have any questions or want to share your thoughts. As always happy slotting! Shawn Smith - SJSlots Shawn@HomeRacingWorld.com Thanks Go To SCX Worldwide for Sponsoring This Review! |
