
Wednesday April 14, 2010
Wednesday April 14, 2010

This review deviates from our normal process as it is not only about the model itself, but also what you can do to increase the performance. Although most of our models in 1/32nd scale stay pretty much in stock form, once in awhile I like to experiment a little. The first release of this Audi allowed me to take advantage of the new line of parts SCX produced and the results were very favorable. So when this livery was announced I knew I would perform the same modifications.
I do want the newcomer to our hobby to understand that these modifications are not needed to enjoy this model. In our first review of this car along with the Peugeot 908 we left them in stock form and thoroughly enjoyed them. It was not until the SCX PRO line of parts became readily available that I decided to experiment.
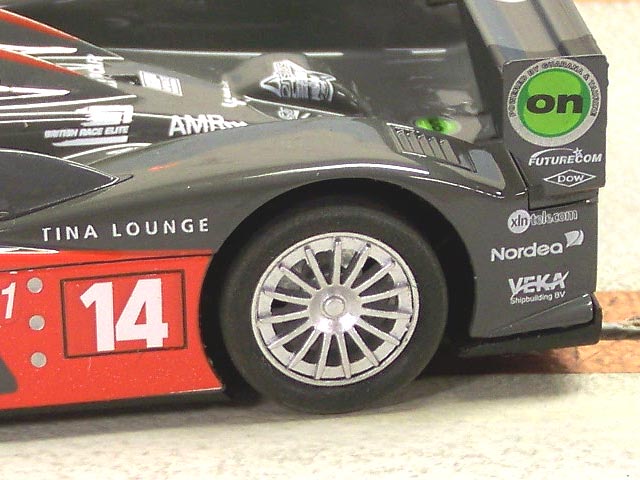
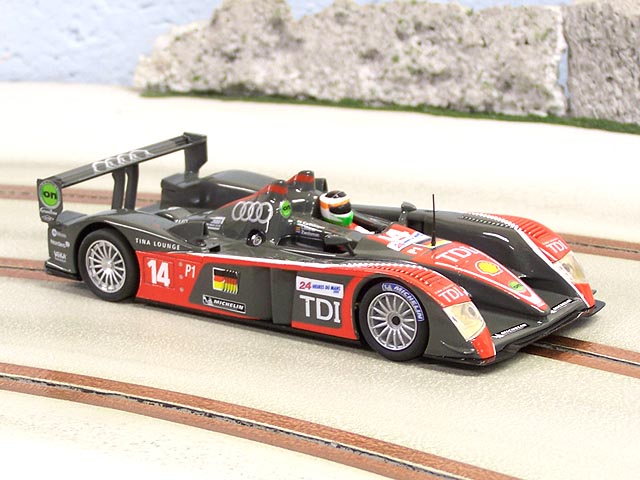
The model itself is very well done to my eyes although not everyone will like it. The dark gray and red really pops for me as I like contrasting schemes like this. The gray reminds me of simple primer that has been clear-coated. The prototype car seems to be almost a graphite in color and a little darker, but this works well enough.
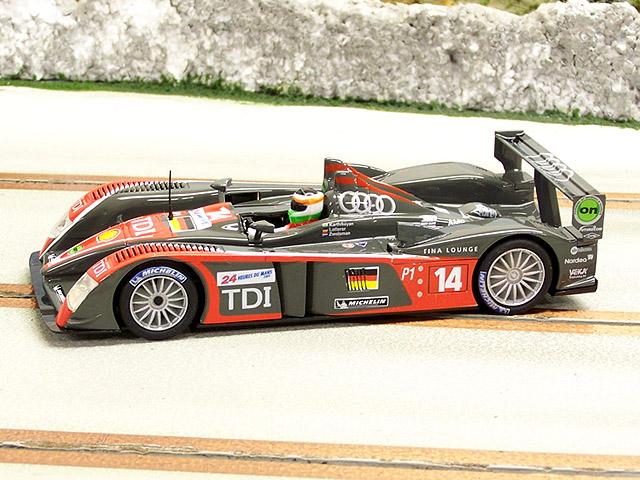
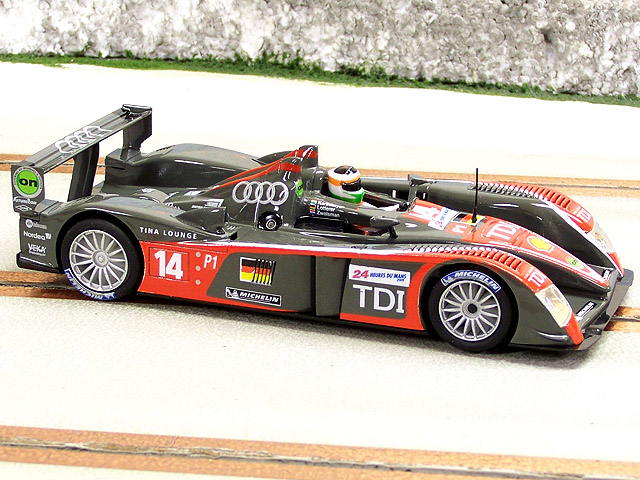
Prototype photos show that SCX has came very close to replicating it in 1/32nd scale, at least close enough for me.
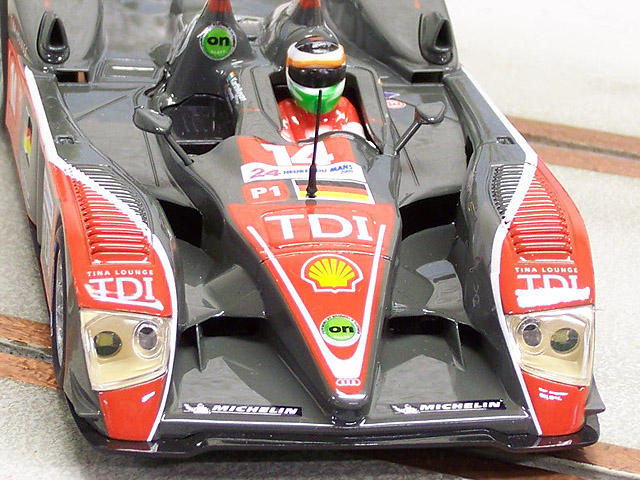
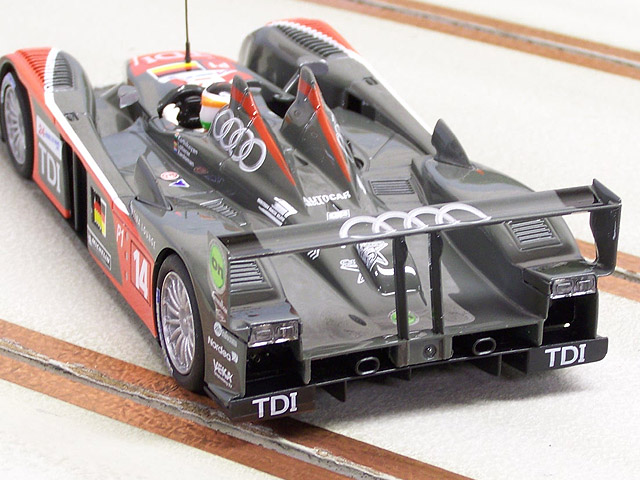
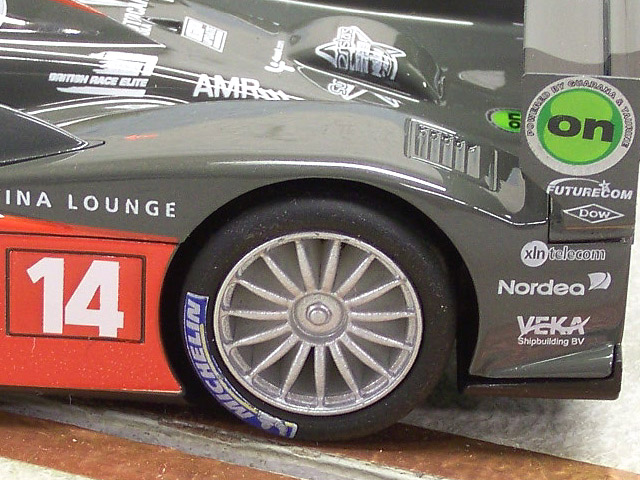
Hopefully the photos show the level of detail and paint work so that YOU can make your own decision.
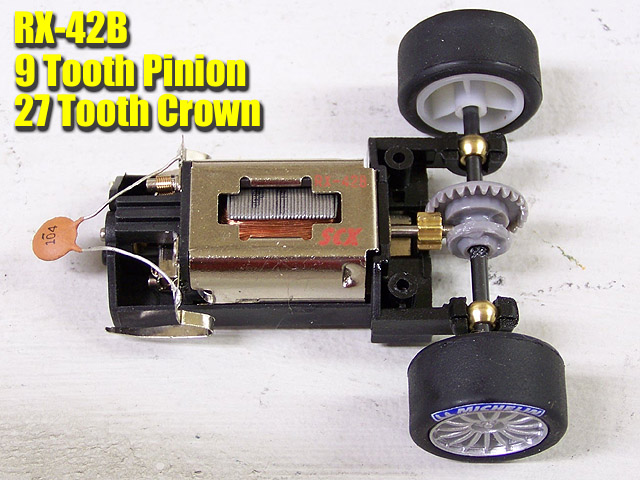
Mechanically speaking this car is no different from the first release so I will let you refer to that review and get right to the modifications.
*NOTE* We did test this model box stock and it functions as intended.
You will need a 0.9mm (0.035") Allen Wrench. This is a standard size for most parts such as these in our hobby.
Contact your favorite dealer and they most likely have them in stock.
The following parts list is all you will need:
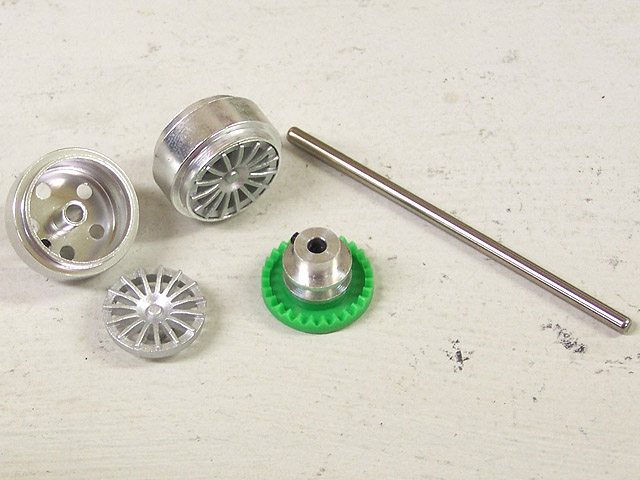
Part# 50460 - SCX PRO Rear Aluminum wheels with inserts
Part# 50380 - SCX PRO 27 Tooth Crown Gear
Part# 50350 - SCX PRO Axle Set
Part# 50020 - SCX PRO Braid (optional)
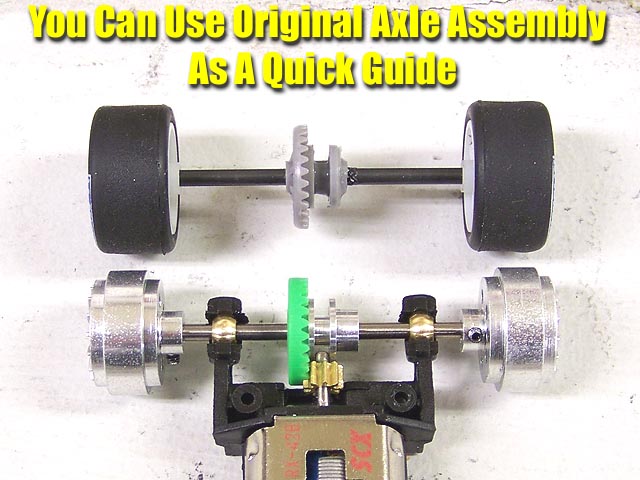
Our first step is simply removing the original wheels and axle assemblies. Once you pop the axle out with the bushings, then you can twist and remove the wheels. Then remove the bushings and snap them back into the chassis.
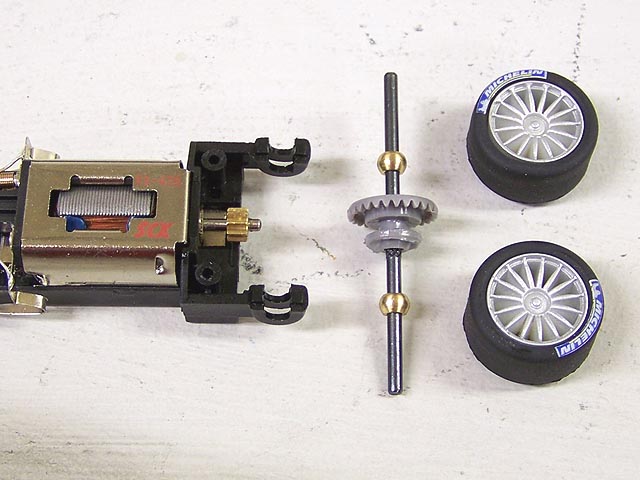
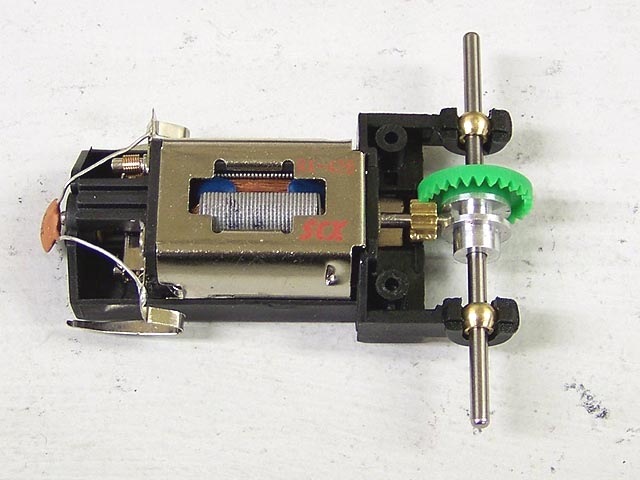
Now it is time to test fit our new axle and gear. The conical shaped bushings will move around in the chassis until they are straight. Once you have them lined up using the axle, then install the gear and set it as even as possible.
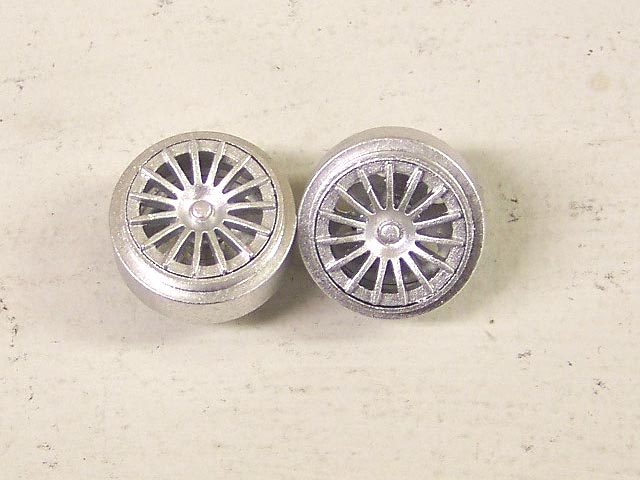
I decided to paint them with Krylon silver for an even appearance. This is not required but I like the look of it.
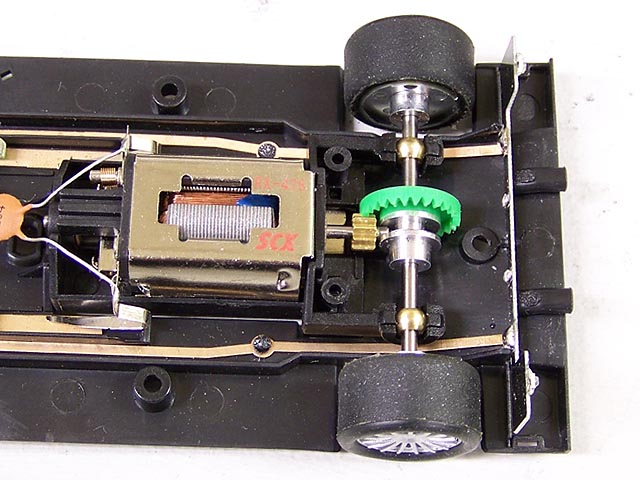
The last addition was adding K&D rear tires for added grip on our track. Just use the tire compound/brand that works best for your surface or stay with stock tires.
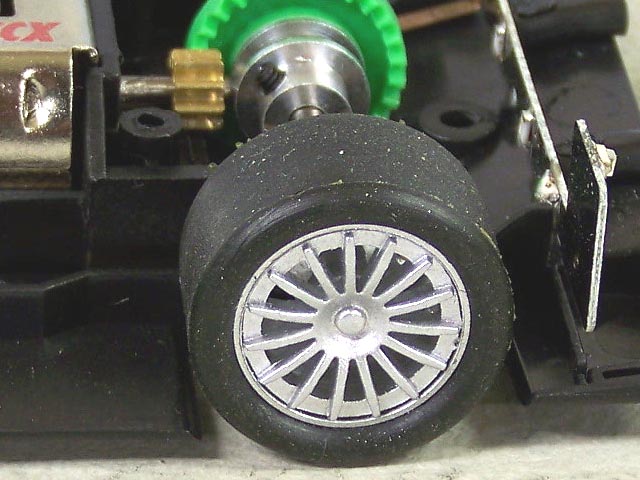
I like these PRO parts as they have the inserts and still maintain great scale detail.
The end result looks well enough for me and also makes the ride and response smoother. It does not take long for these gears to break in and with the tire change performance is really improved.
Sometimes simple modifications can really improve the performance of your models. Since we run on wood tracks the difference is noticeable and just makes the model more appealing to drive. I am very happy with the current SCX line of models out of the box, but having the parts readily available to improve them makes me like them even more.
- Harry
As always feel free to contact me about this article or just the hobby in general at harry@homeracingworld.com, or better yet drop into our Message Forum and share your thoughts with other enthusiasts!
Thanks Go To SCX WorldWide For Sponsoring This Review!

Check Your Favorite Dealer For This & Other SCX Models
Copyright © 2010 HomeRacingWorld.com All Rights Reserved