
Sunday February 24, 2008

Part Four - Final Assembly
We can now begin the finishing touches on our Artin Bomber. As we mentioned at the beginning, we are approaching this build with simplicity and only as a guide to help you get started. Remember that your own creativity will be required to make your bomber as scale detailed as you feel it should be.
First step is to look over our body and test fit it one final time on the chassis. If it is sitting where you want it then we can move on to final sanding and paint prep.
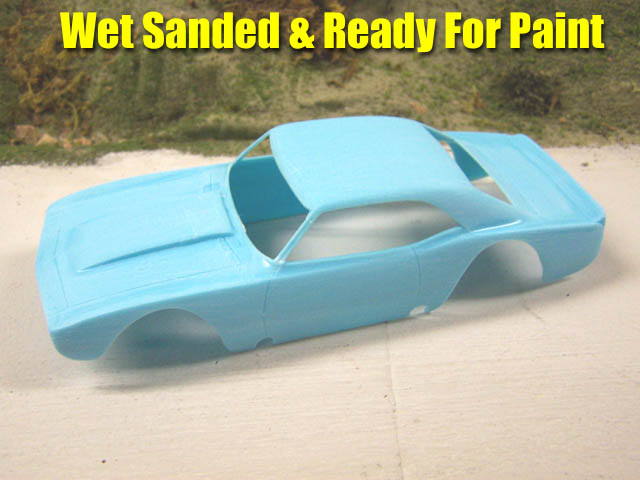
Using some fine grit wet sanding paper, go ahead and clean up the body as best as you can. I wet sanded ours for about 2 minutes to basically clean up any flash molding left behind and to smooth out some of the rough edges left after using the coarse sandpaper.
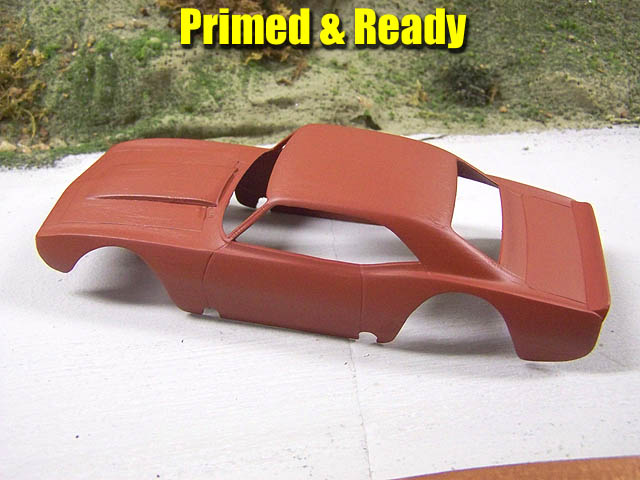
The I gave it 2 coats of red primer, inside and out. Wow! There is still some scratches visible, and we certainly do not have a shiny smooth finish. In all honesty it is a pretty rough looking little Camaro all the way around. PERFECT! In fact, who needs paint? I like her just the way she is.
MODELING TIP: We use inexpensive primers such as the ColorPlace brand from Wal-Mart. At 97 cents a can it is pretty hard to beat. You can of course use any brand of primer.
While the body is drying, let us go back to our original Artin Stocker body. Turn the body over and you will notice 4 areas where they have post-melted the interior in place.
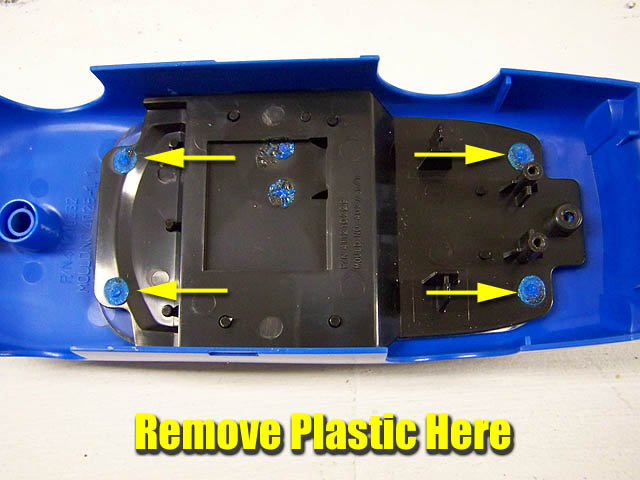
Since we are going to use some of the interior, you will need to grind away the melted plastic to free this interior. I like to use the same cutting bit we have been using for drilling our nerf bar and bumper holes for this task.
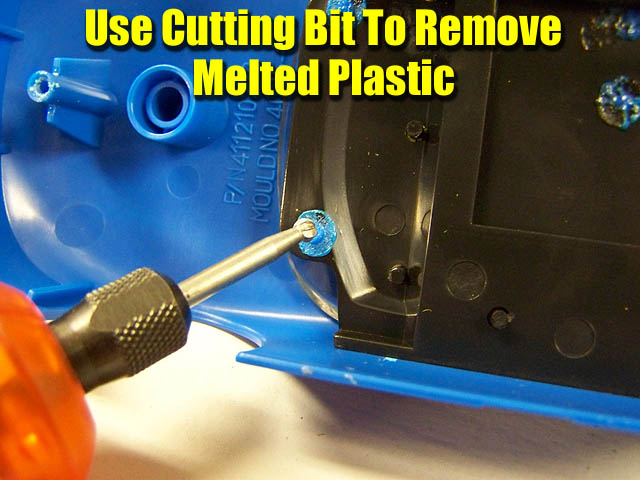
Carefully grind in a circular motion until the plastic is removed and the interior is easily popped out.
You can now remove the roll cage and driver figure. Although the driver is post melted in place you can still pop him right out by hand. Now you can paint your driver figure and while he (or she) is drying we can move onto our interior tray.
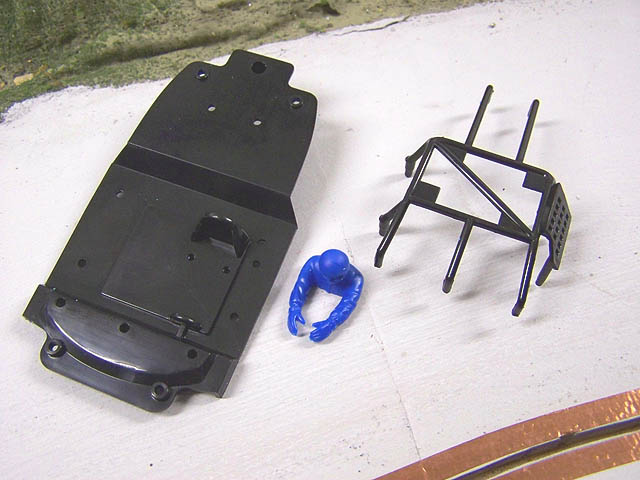
Remember those playing cards we listed at the beginning? Well, here is where they come in handy. We use these for our flat interior trays.
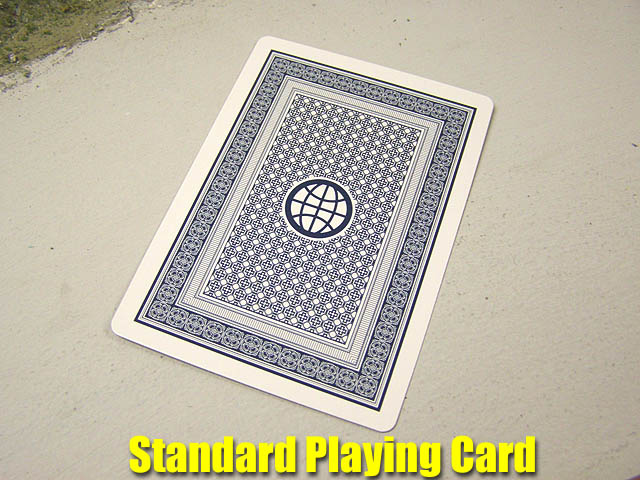
But why not use the stock Artin interior? The reason is that the Artin interior is slightly recessed making it low in the center. Since the motor is in the inline position, and that our body is designed to sit lower, we have to make sure the bottom of the interior clears the top of the motor.
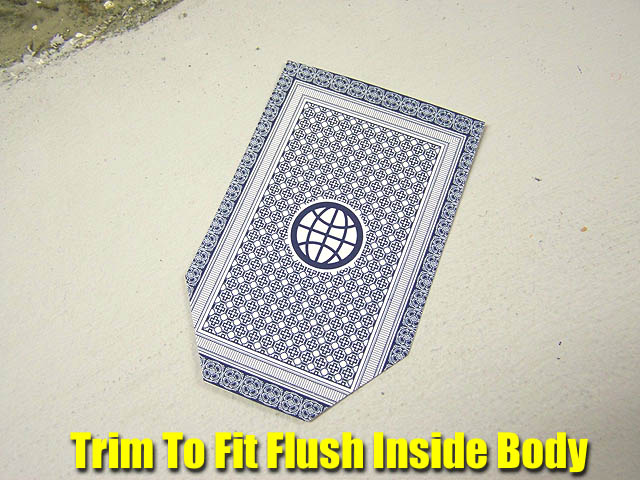
We cut ours to fit cleanly inside and almost flush with the top of the door sills. The width is just a shade under 2 inches with the length right at 3 inches. I then cut 2 angles out of the rear so that the edges of the card cannot be seen and so the card does not rub on the top of the rear tire.
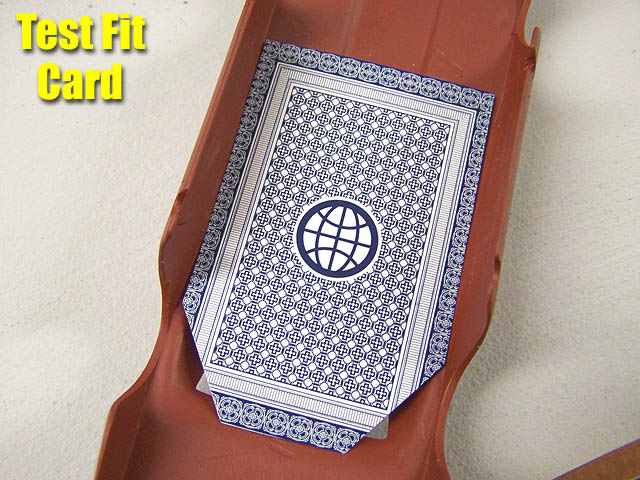
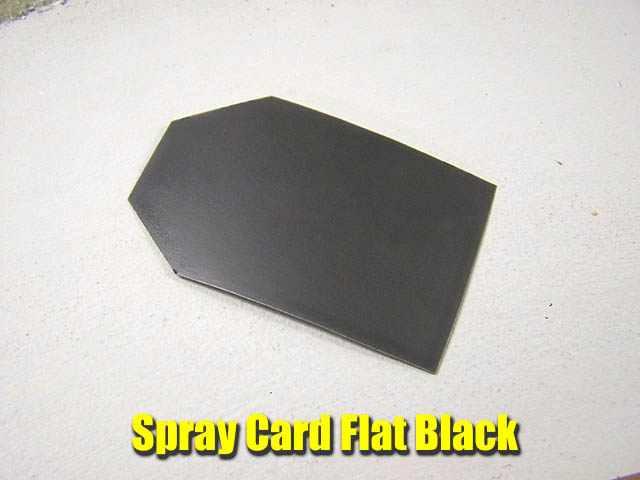
Next I spray paint it with flat black and allow it to dry. Remember that you can use virtually any material to create a interior tray. You can also design and build a much more elaborate interior with increased fine scale detail. For our racing however, this works well enough.
Now that our body is dry we can add decals and seal it with clear coat. In this case I used simple number decals from Rob's Modeling. Once I placed them on the car I used a couple old contingency stickers here and there and that is it.
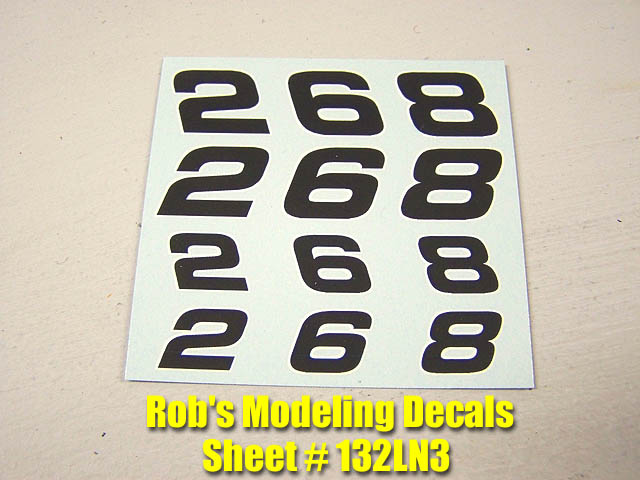
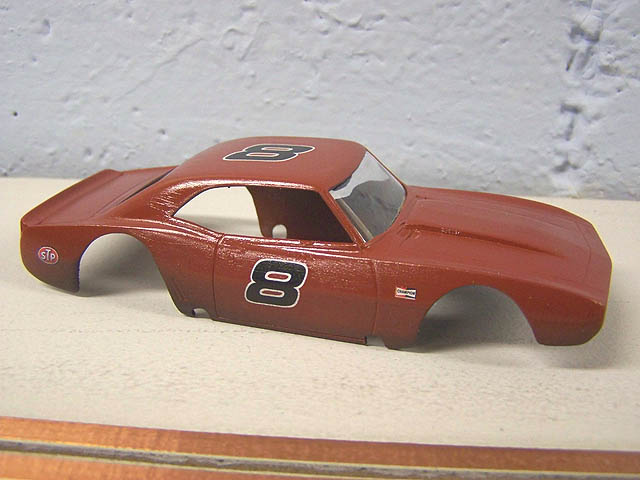
To seal the decals I sprayed 2 light coats of Testors decal bonder. Then to preserve the finish I used Krylon Satin clear in one light coat. After this was dry I used ColorPlace flat black and sprayed a few shots from the underneath of the body. This allowed some flat black to "splash" out onto the sides to give the car a more used effect.
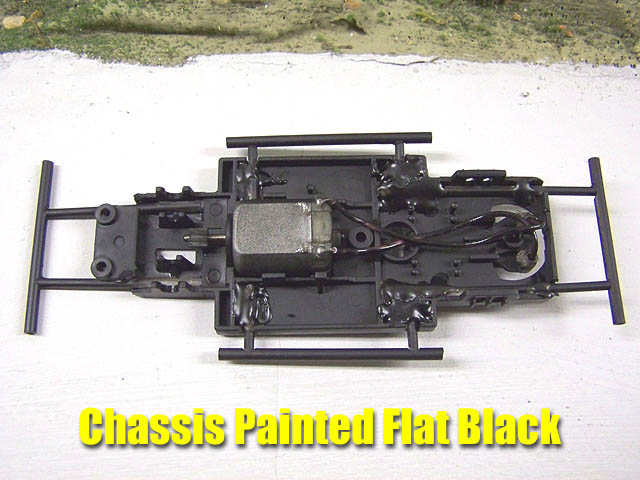
While the paint is drying on our body, let us turn our attention to the chassis. For our car we decided that flat black would look ideal. We removed the front and rear axle assemblies and gave it 2 good coats. We leave the motor in as the paint work we are doing will not hurt it or the braids. If you get some paint on the braids you can easily clean the braids with lighter fluid.
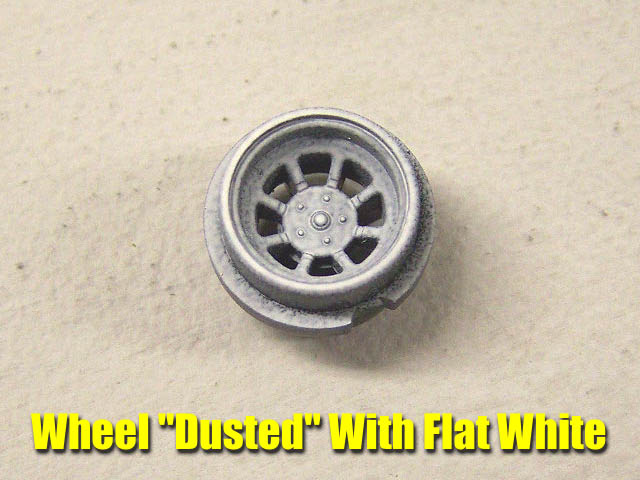
Time for the wheels. Given the color scheme we have, flat white seemed to work out nicely. Again we used ColorPlace flat white for this task. I sprayed 2 coats on them and although that did not entirely cover the wheel, they look ideal for our old bomber.
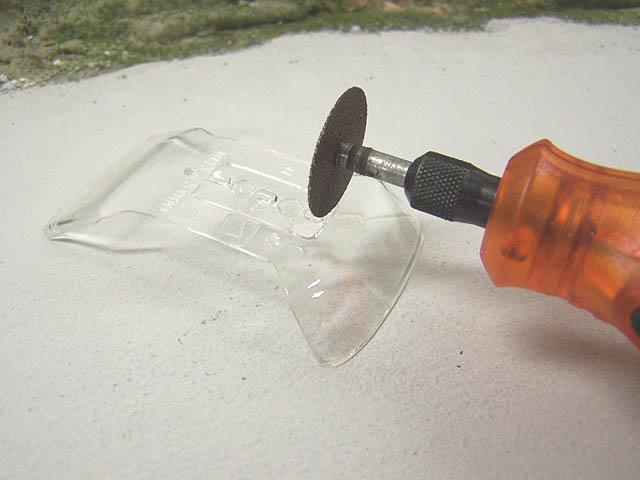
Before the interior can be mounted we need to install our front and rear wind screens. I have used many methods for this based on 1:1 cars I have seen. For this model we will just use the glass from the kit, but only the front. Using your Dremel and cut-off disc, cut the glass as shown to remove only the front.
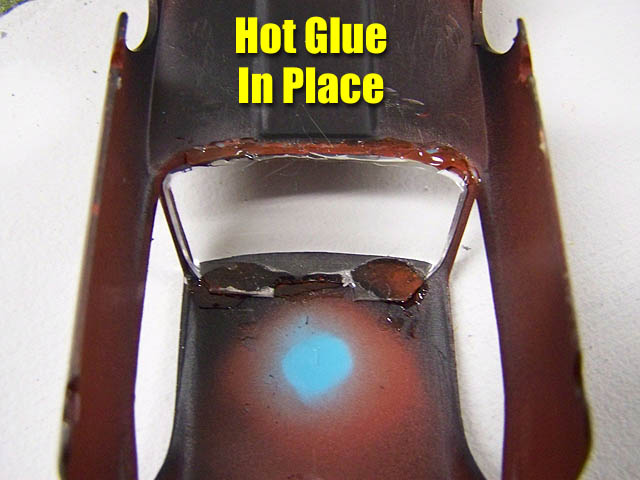
I used hot glue to hold the glass in place but you could use Testors as well. For the rear I like to use screen. We use simple screen door screen found at just about every home center. I sprayed it flat black first, then trimmed it to fit the back window.
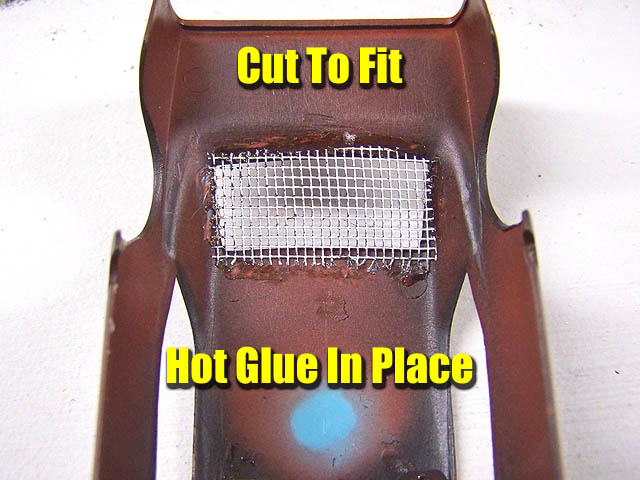
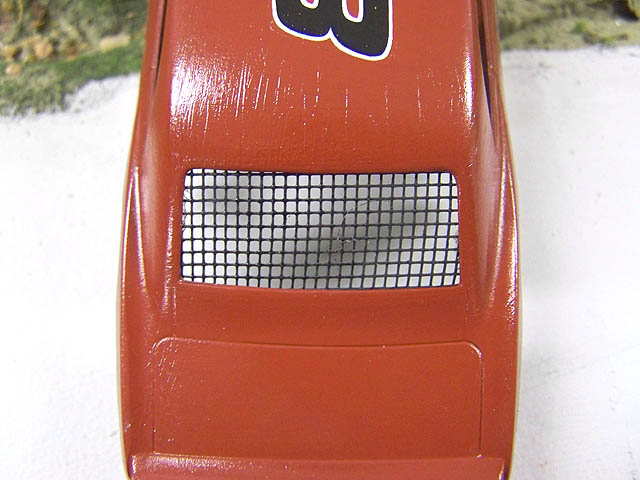
Now that the front and rear windows are completed we can move on to the front and rear mud screens.
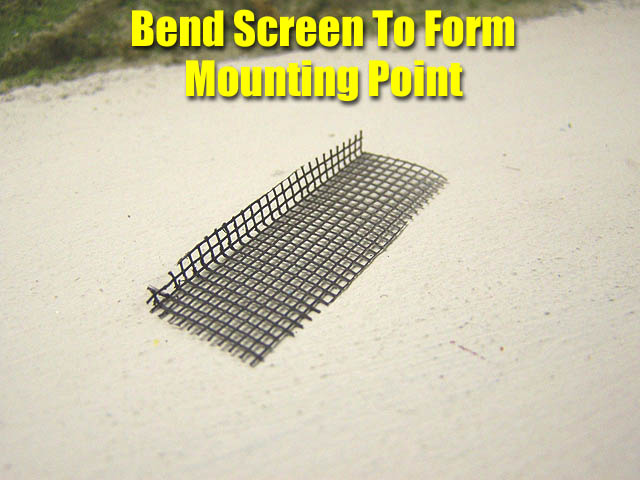
Using the same screen you will cut to fit each end. After you have the correct width, take one edge of the screen and make a bend in it. This will allow a good glue mount point for the screen.
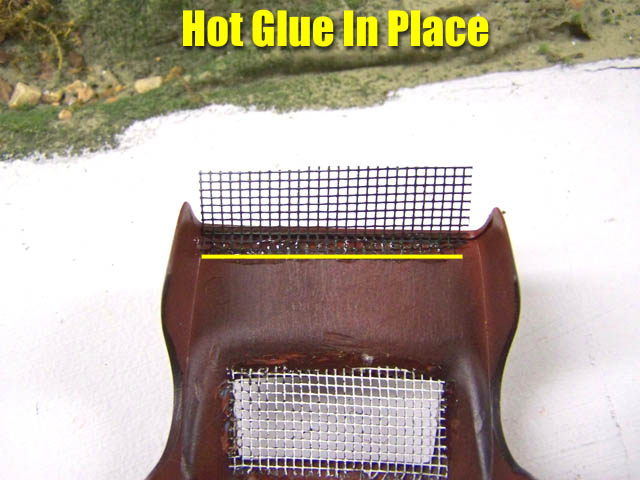
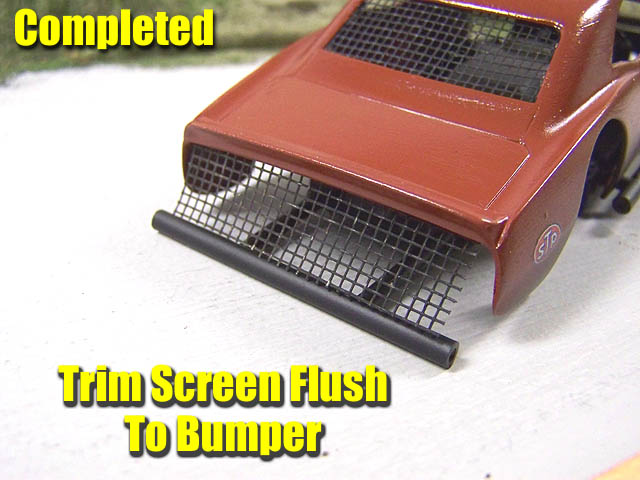
Install the screen in the rear with hot glue. Now, place the body on the chassis and see where the screen edge is. If it is too long, simply take a scissors and trim it until it rests flush on the rear bumper.
Before we do the front, we are going to make a slight modification to the front bumper. I like to bend the front bumper up slightly to give it a more scale appearance.
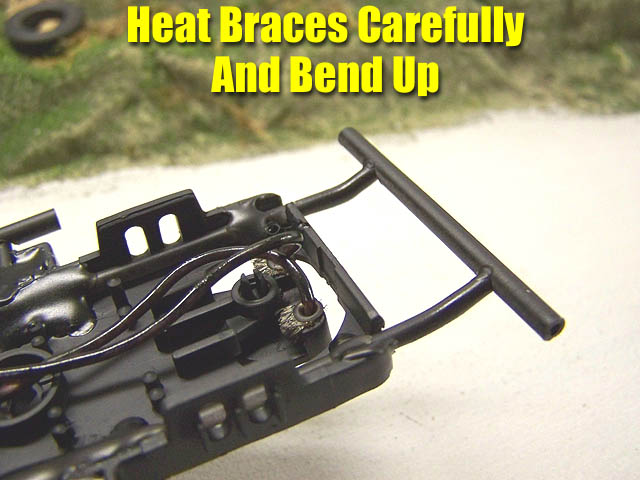
To accomplish this is very easy, although you must be careful. I use a regular cigarette lighter and apply the flame under the braces in a waving action. I do this from bar to bar until the bumper starts to bend down. When this happens, I stop applying the flame and bend up on the bumper until it is where I want it.
For the front mud screen, use the same technique that we just used for the rear.
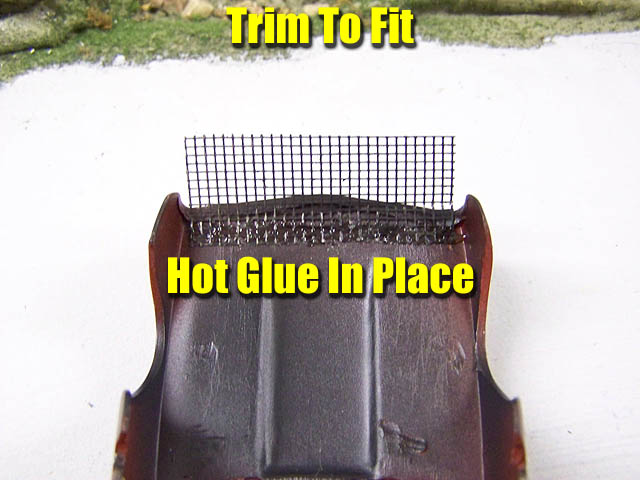
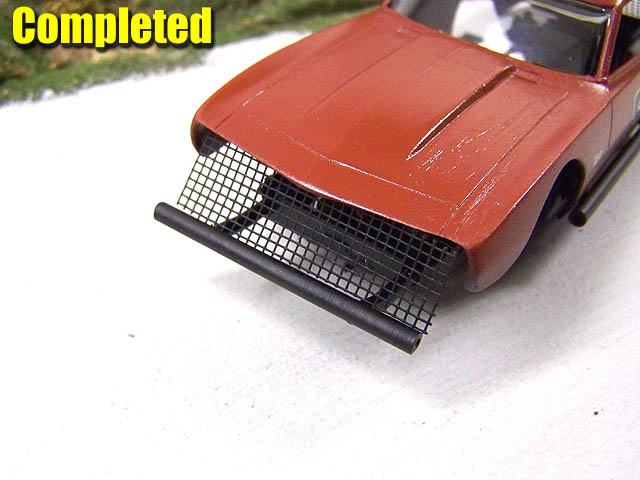
Measure and cut your screen to fit and then hot glue in place. Then mount the body on the chassis and trim the bottom edge of the screen flush with the bumper.
Now let us finish our interior tray. Mount the tray in the car and use a pen to mark the area where the driver should be.
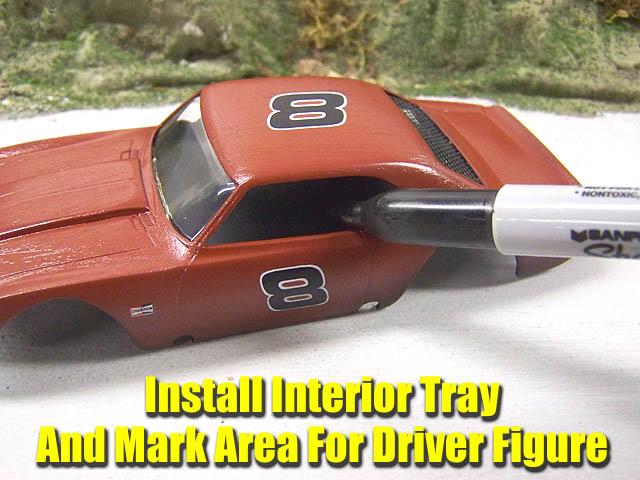
Then simply use hot glue or Testors adhesive and glue our driver in place.
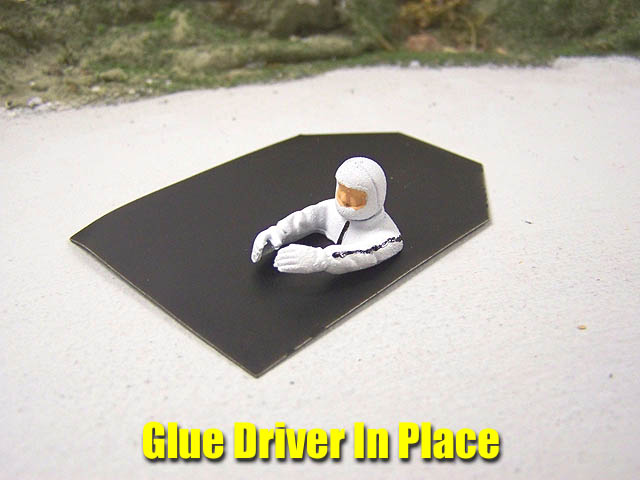
Once dry, install the interior tray for the final time and adjust it where it should be. Hold it in place by hand and then hot glue each end in place.
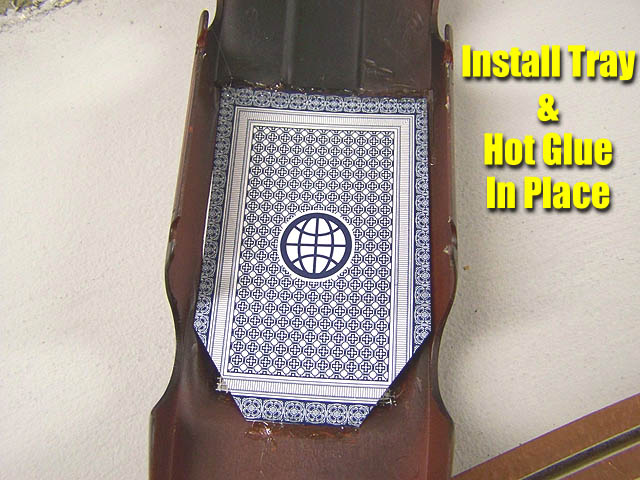
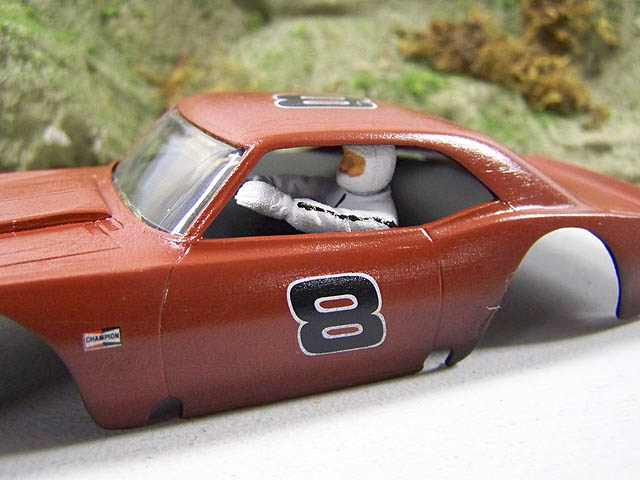
Starting to look better...we are almost finished.
Now time to re-install our axle assemblies. Snap them in place and we are finally ready to mount our body.
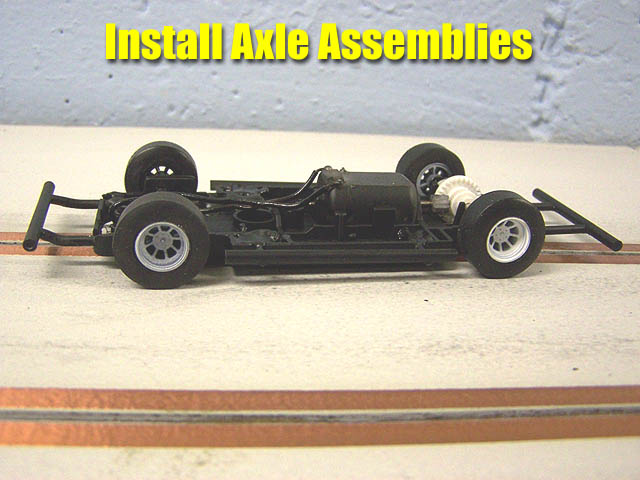
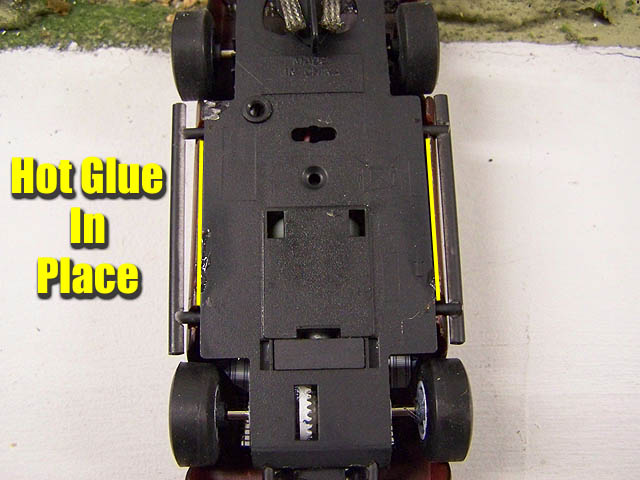
Place the body on the chassis and turn it over. You can use hot glue and place a light seam of glue on the sides. This is a durable mounting system but it also allows you to remove the body easily by cutting the glue with a hobby knife. There have been occasions where in very hard crashes that the body will pop off. That is fine by me as it is easily glued back in place. I like this system because of the simplicity. The time and effort it takes to place solid body mount posts is much more intensive and time consuming. For my racing, this system is the one for me.
And here we are with a new Artin Bomber!
Like we stated, you can detail a car like this as much as you like. We wanted to show you a simple method that could get you started in one of the most rewarding and fun slot car racing I have ever done.

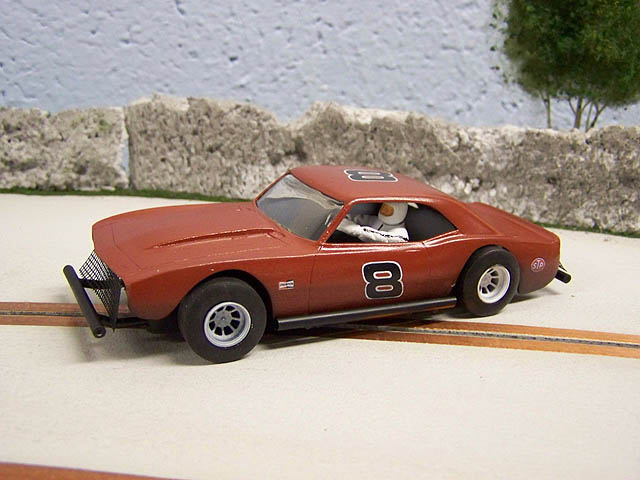

Creating a model that is as unique as you are is one of the most satisfying aspects of our hobby. And once you build one, you will just want to build another. That is what happened here at HRW as the fun of the first one began a whole new series that still continues in full force today.
-Harry
As always feel free to contact me about this article or just the hobby in general at harry@homeracingworld.com, or better yet drop into our Message Forum and share your thoughts with other enthusiasts!
Helpful Links
