
10/23/2011

Cook that thing!
Fixing a warped SCX chassis
When a plastic part, like a slot car chassis, leaves the production mold at the factory it can get warped. This is usually not related to specific production runs, but rather something that may happen to individual parts. In other words you can buy two of the same car, and one can have a warped chassis.
A warped chassis means trouble for a slot car since it will often run on 3 wheels instead of 4. In the SCX GT cars it can be a bit more difficult to identify the problem because of the tilting motor pod, and especially if you run with magnets and a tight mounted body. But when you setup a slot car for no-magnet racing a straight chassis is crucial for the performance, so checking the chassis for straightness is worth the effort.

This SCX Ferrari 550 Maranello (SCX61800) was first released in 2005 and is still a very good looking GT car that will turn into a nice running no-magnet slot car with a little help.
My SCX Ferrari 550 Maranello is one of my older SCX GT cars and unfortunately it came with a warped chassis, so after failed attempts in making it into a competitive non-magnet racer a couple of years ago, it has spent most of its life on my shelf as a beauty queen, but now it’s time to get that chassis straightened out and put the stallion back into service!
Fixing warped chassis with hot water has been a known and proven method in the non-magnet circles for years, and Slot.it was probably the first company to recognize the issue and published a “how to” document on their website: http://slot.it/Download/FAQ_PDF_en/1-ArtOfChassis.en.pdf
In the spirit of the “home racers” I will use a method based on to the instructions from Slot.it but doing it without having to source a perfectly flat piece of steel. You will only need the crystal case the car came in, 10-12 slot car magnets and boiling water.
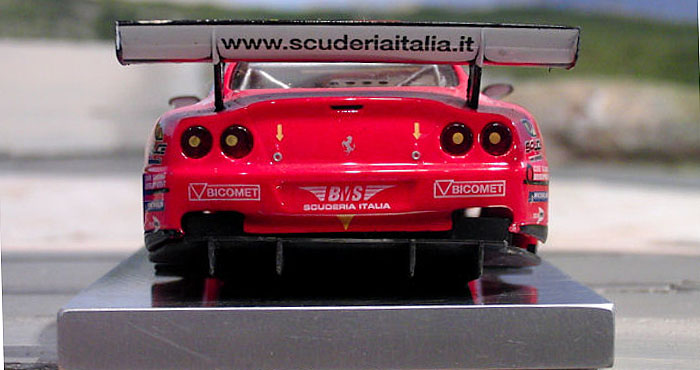
The first indication of a warped chassis is that the body will not sit straight on it. The body itself could off course be slightly warped too, so to be sure strip the car down to the bare chassis an place it on a level surface.
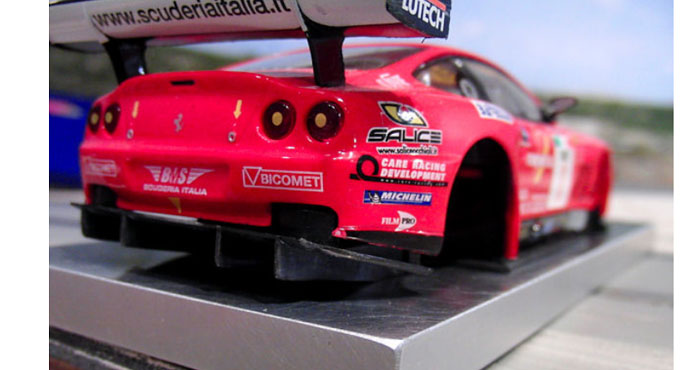
The picture below confirms the suspicion; the left side of the rear chassis will not touch the ground. To make sure the rest of the chassis is flat against the ground, press down both sides of the chassis right behind the front axle mounts while inspecting how the chassis sits on the surface. Holding it against a light source while trying to look under it will reveal most problems as you can see “daylight” passing through the parts that don’t sit flat.

Other indications of a warped chassis are that only 3 of 4 wheels touch the ground. Since SCX cars have a tilting motor pod it may not be obvious at first sight since the movement in the pod compensate for the warped chassis, but of you place the car on a level surface and look under it while tilting the car from side to side you will often notice that one of the front wheels are more eager to lift from the ground than the other. But that could also happen if the tension in the “chicken legs” on the motor is uneven, since those work as the pod-suspension, so make sure they are aligned properly first.
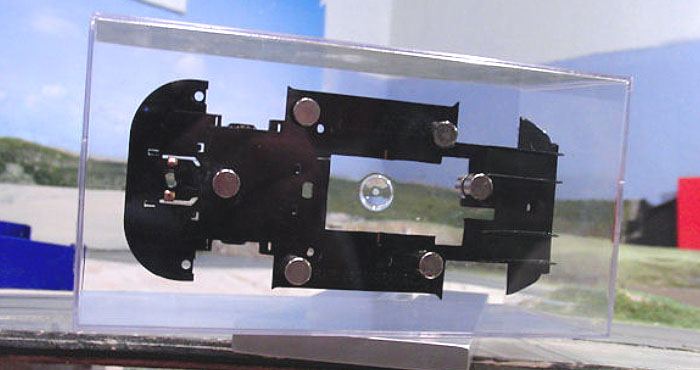
To fix the chassis - strip it down, even take out the motor pod, but the copper rails can stay in place. Then place the chassis in the bottom of the crystal case lid and fixate it with magnets by placing them onto the chassis and on the other side of the crystal lid.

View of the chassis mounted inside the crystal lid with magnets placed on strategic places where the chassisis supposed to be flat against the surface.
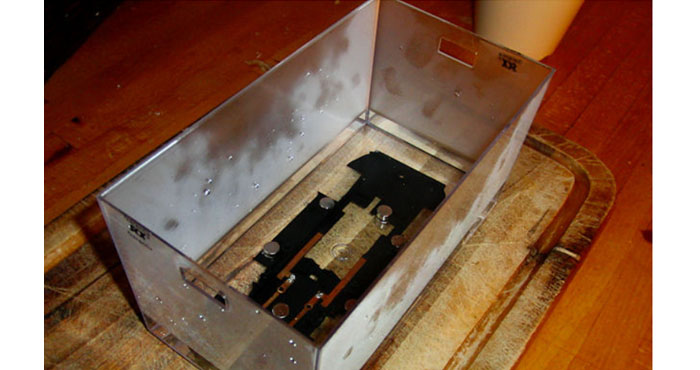
As the pictures show there is a dimple in the middle of the crystal lid bottom, but that fits nicely in the opening where the motor pod was located, so the rest of the surface is flat. How many magnets and where you place them depend on how warped the chassis is, but a general rule is the more the merrier, just make sure you only place them were the chassis is supposed to sit flat against the surface and leave enough space between the magnets to avoid them attracting each other.
 .
.
View of the topside of the crystal lid that gives you a good view of how the chassis sits against the flat surface.
When you are happy with how the chassis is fixated, take it to the kitchen and heat up the water boiler, or cook some water on the stove. Place the crystal lid on a surface that can handle some heat. The magnets will act as feets and will transfer heat to the surface you place them on, so try to avoid making 5-6 round burn marks on the kitchen table, or your better half might take a serious dislike to your precious hobby.
Then simply poor the boiling water into the lid until it covers the whole chassis. This is important; do not partially cover the chassis with boiling water, the quick heat-up process release the tension in the plastic so you want to make sure this happens to the whole chassis and not just parts of it.
Then poor the rest of the water into a cup and make yourself a cup of instant coffee or tea and ponder over the finer aspects of the slot car hobby while you wait for the chassis to slowly cool down. Again this is important; to make this work do not try to rush the cool down period. Slot.it even suggest to pre-heat the owen to 100 degrees (Celsius) and place the container with boiling water into it and turn it off, to slow down the cool-down period. I did not do that with this chassis.
After the water and chassis has slowly cooled down to room temperature I took it out and shook off the water to do a quick test-fit with the body …and voila!
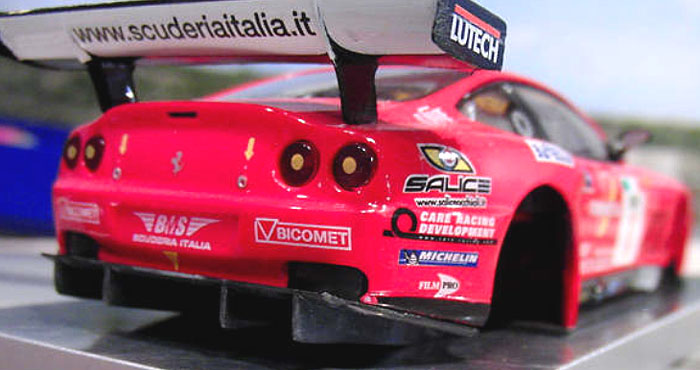
The chassis now fit tightly all around the body, and the crooked Maranello fighter is now rescued from the shelf queen death.
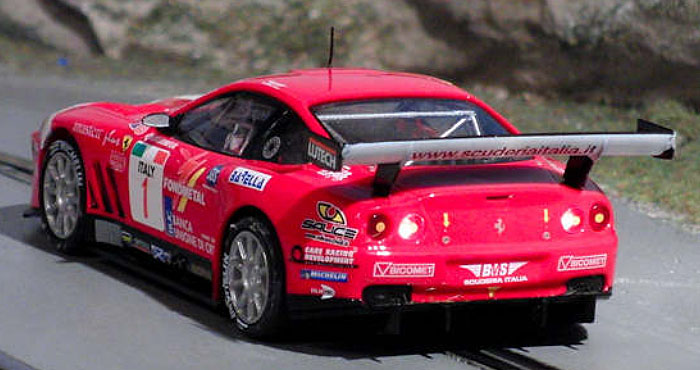
A happy stallion, ready for new adventures
To sum it up:
- Read the PDF document from Slot.it (link above)
- Strip down chassis
- Place inside crystal lid box
- Secure with magnets either side
- Poor in boiling water
- Let it cool down by itself (important)
- Repeat if needed
Happy slotting!
- Tore