
Sunday February 24, 2008

Part Three - Front & Rear Bumpers
What would a good old Saturday Night Bomber be without bumpers? I know I certainly use mine, ask anyone who has raced me! Our approach here is a simple 3 bar method that has proven to work very well over time. You can of course design and build more elaborate bumpers, but these should be good basic starting point for you.
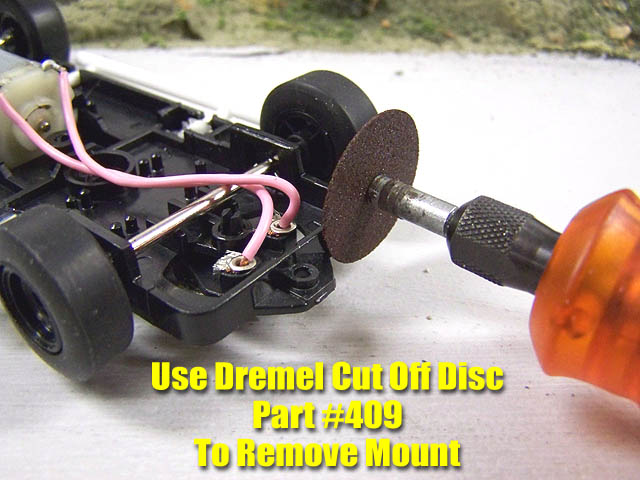
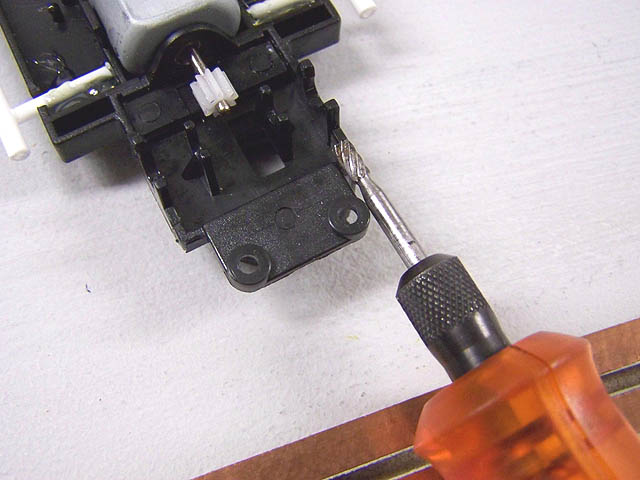
Our first step is to get the chassis ready. We will start at the front and cut off the original front body mount. You could skip this, but I like the looks of it better without it. Use your cutting wheel in your Dremel and this will leave you a very clean cut with minimal flash to remove.
Once this finished, install your cutting bit again and cut notches on each side of the front of the chassis. As we did with the side nerf bars, only cut deep enough to be flush with the top of the chassis.
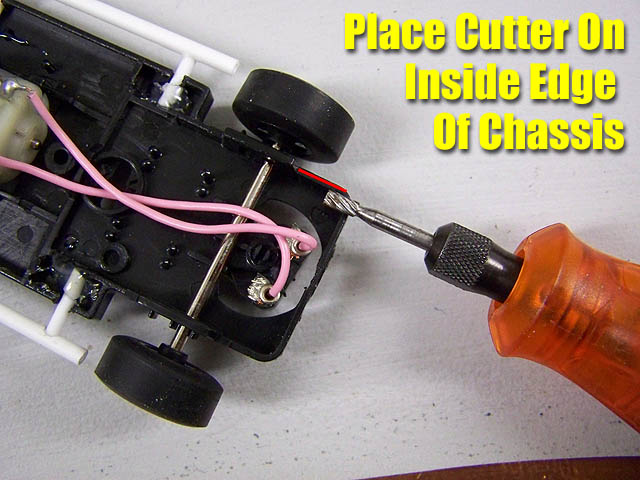
Place the cutter flush to the inside of the chassis so that the rod we install will rest against it for strength. If you did not get close enough, no worries, just cut the notch wider until you have the right fit.
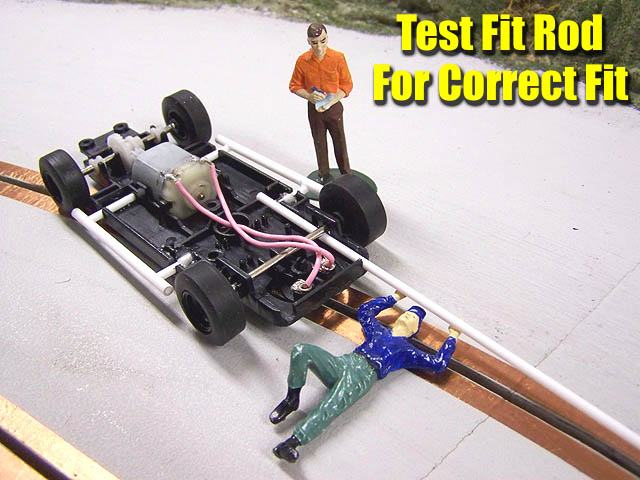
Take a piece of your .100" rod and test fit it to make sure it is sitting right where it needs to be.
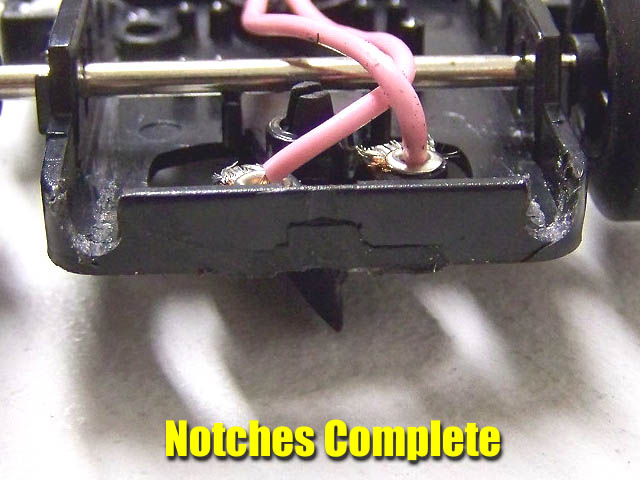
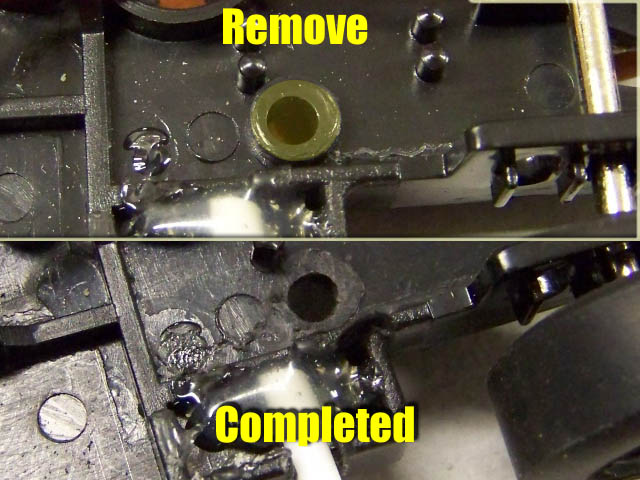
Before we can do the other side, we need to perform a chassis modification. There is a raised area for a screw to mount the chassis to a base. Since this is in the way of my design, it will have to go. Use the same cutting bit you just used for notching the front end and remove this. It is very easy and in a few seconds you can test fit the other side.
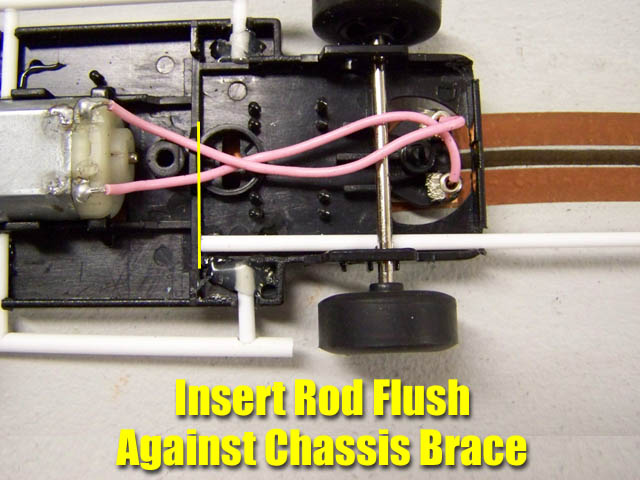
To measure how long you need your braces, place the rod in the chassis flush against the chassis brace. This is why I cut these rods so long as this point here provides you with a VERY strong glue point. Now, place body on the chassis and simply "eyeball" the distance.
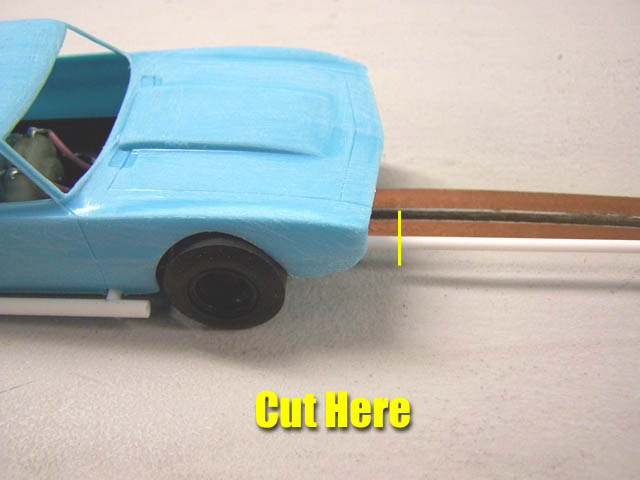
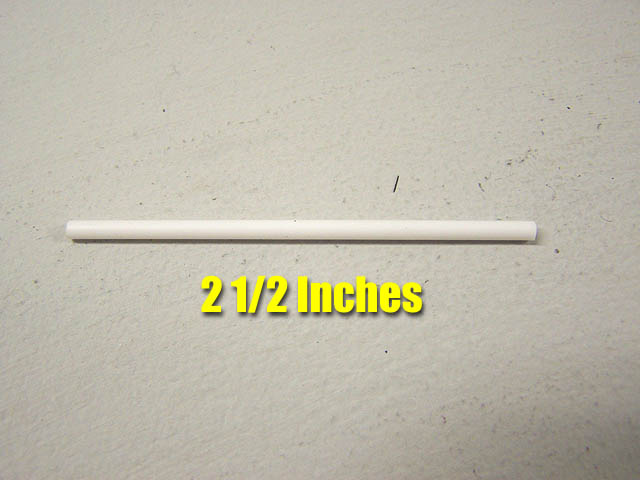
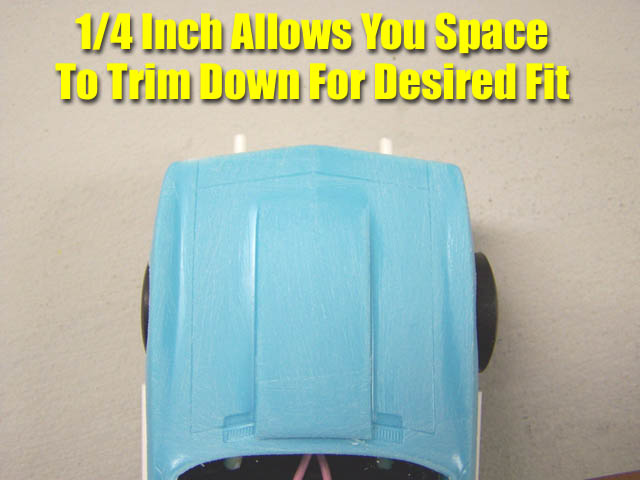
I like to have mine sticking out about 1/4 inch to allow room for me to trim for ideal length. In other words my fellow mechanics, a little extra length is good. On this model I chose to cut the rod to 2 1/2 inches and this was ideal to start with.
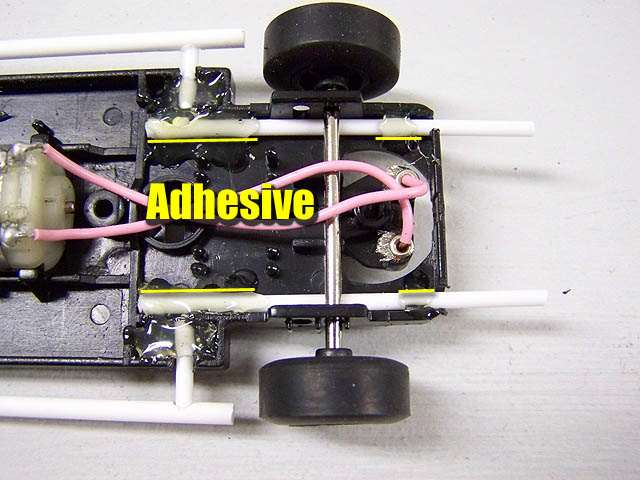
Once both are cut to length, simply install them as shown above and hot glue them in place. After this, go ahead and inspect your work. You should have a very strong brace system for your front push bar.
To make our push bar, switch back over to the 1/8" tubing like we did the side bars. I like to have mine around the width of the body. In this case we went with a even 2 inches to start.
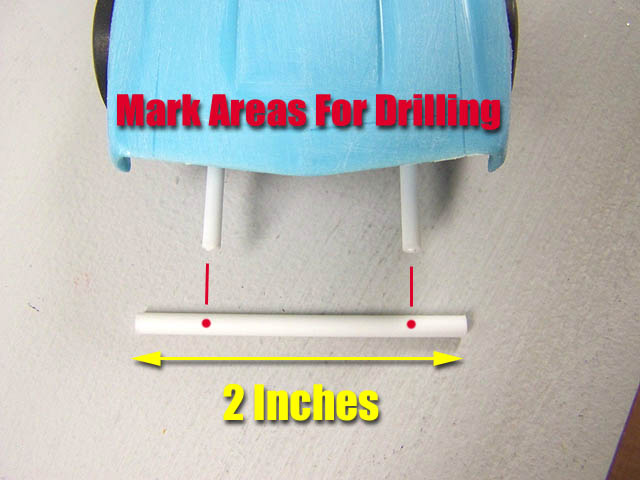
After you cut the tubing to length, place it evenly in front of the braces and mark your areas for drilling.
Use the same cutting bit and technique we showed you for the side bars and then test fit the bumper. If you feel it is sticking too far out, simply sand the brace ends down to suit your taste. In our case we only slightly cleaned them up before mounting. Using Testors glue again we mounted the front push bar in place.
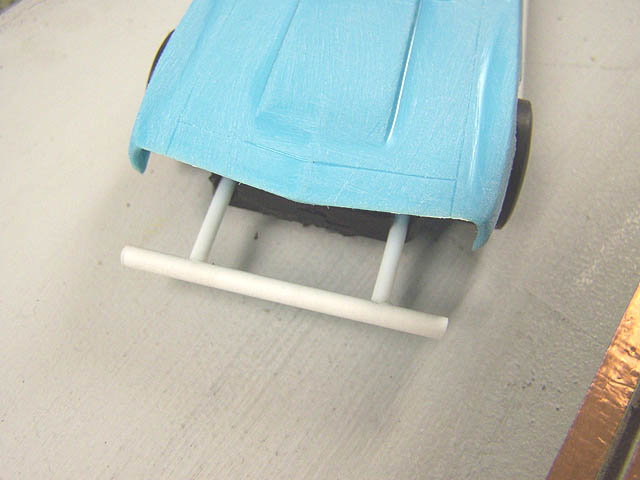
Although it might look a little long, it has a purpose which I will show you later in the final tuning of the car.
By now you should have a good idea on how to make these nerf bars and bumpers. So let us move on to the final part: the rear bumper. Using our same cutting bit we notch out the rear as shown. I keep the rear body mount tabs as it adds strength to the bars as you will see shortly.
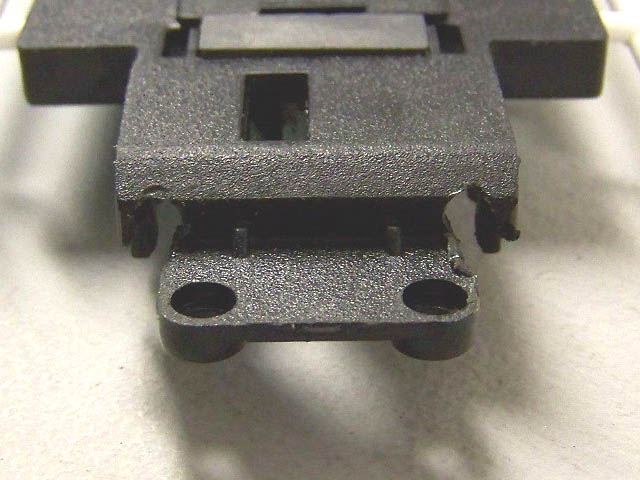
It may not be pretty, but these notches work well. You can go behind with a hobby knife and clean away any flash molding that is present. The important thing here is that you test fit your rod to make sure you have a clean cut that allows the rod to rest flush in the chassis.
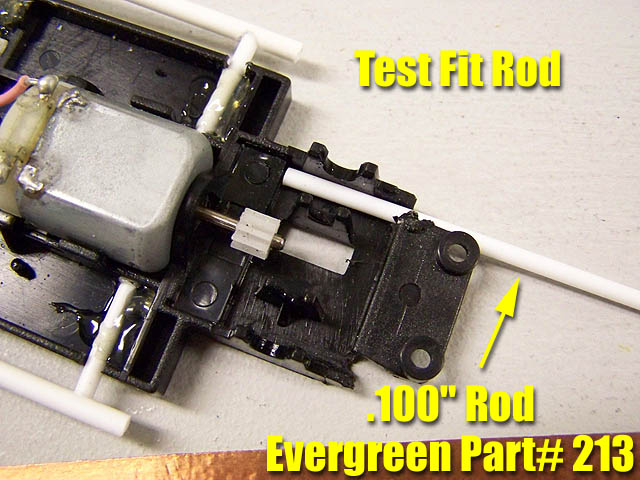
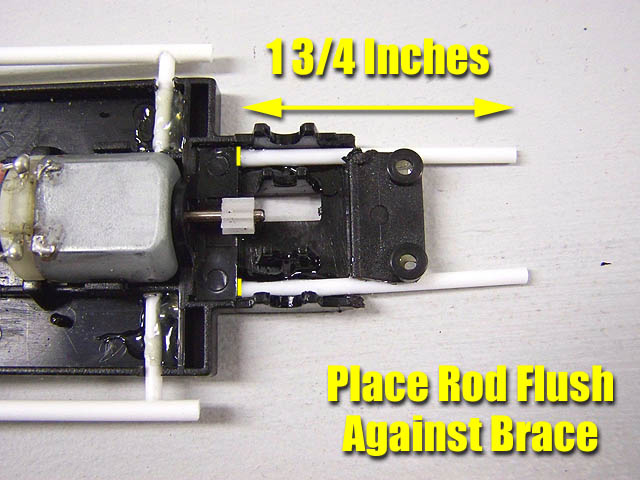
Using the same .100" rod we have used for the rest of this chassis, test fit it by sliding in the notch and placing it flush against the magnet pocket chassis brace. Using this size rod is ideal as it will fit all the way under the axle bushing and provide strength resting against this brace.
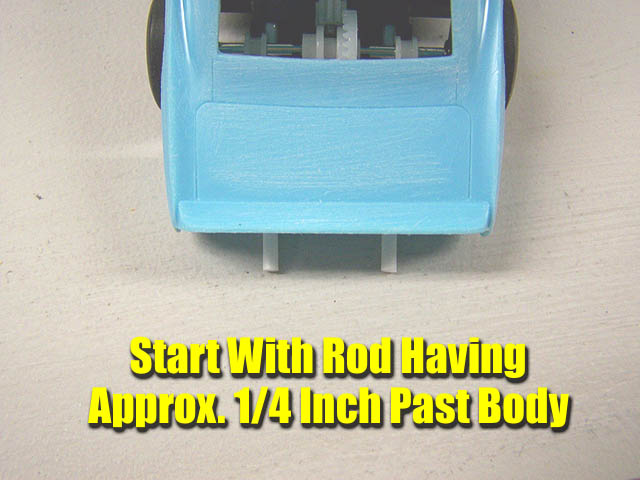
Now we will measure how long the rear braces should be. Again, place the body on the chassis and mark an area about 1/4 past the edge of the body. Remember, it is not critical that you make the length perfect. You can always trim it down if it ends up being too long.
For this model I chose 1 3/4 of an inch for length and this turned out to be just fine. Now apply some Testors glue in the chassis and slide the rod braces into place making sure they are sitting flush against the brace, and flush against the bottom of the chassis.
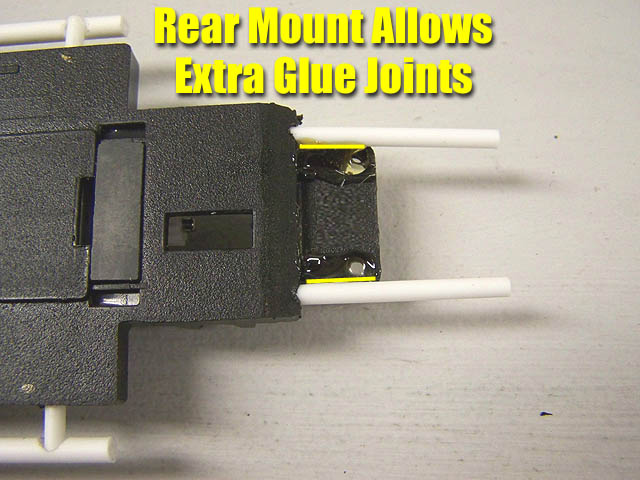
Remember I mentioned leaving the rear body mount in place? Here is why: Added strength. Turn the chassis over and apply hot glue along the areas shown. This really improves the durability of the entire bumper.
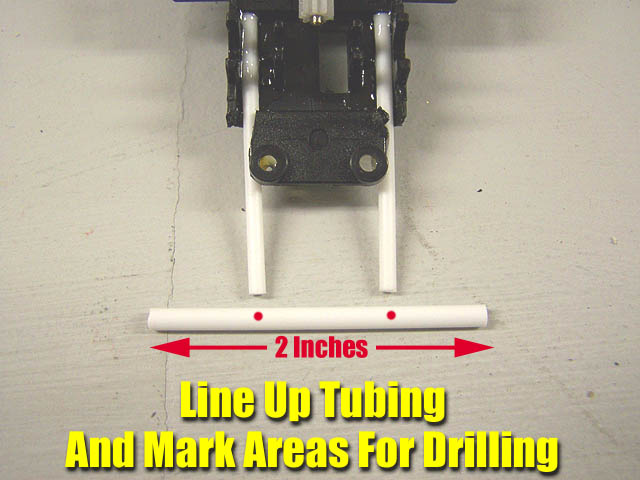
Time to measure and cut our 1/8" tubing for the rear bumper. I used 2 inches as the front for a starting point and then lined it up with the braces to mark my drilling areas.
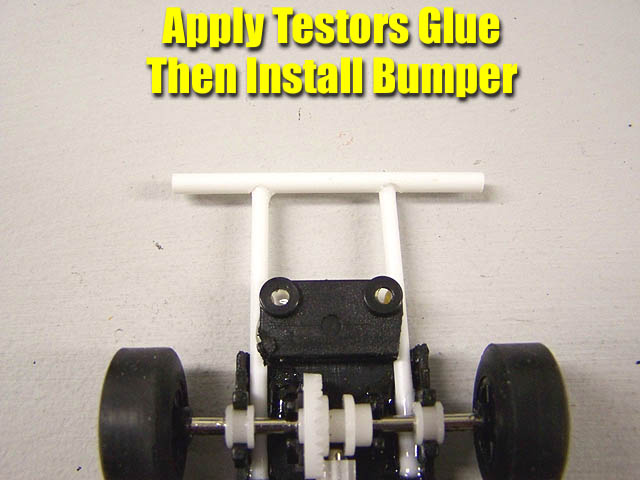
Using our same technique, we drill the holes and clean away any excess flash. Add a drop of Testors glue on each end of the braces then simply install the bumper.
That is it! You are now ready to move on to final assembly.
However, let us take a quick look at what we have created so far. It certainly is looking more and more like a race car isn't it?
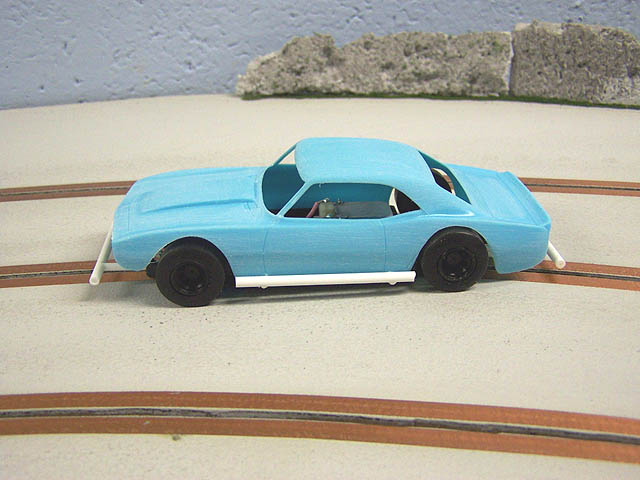
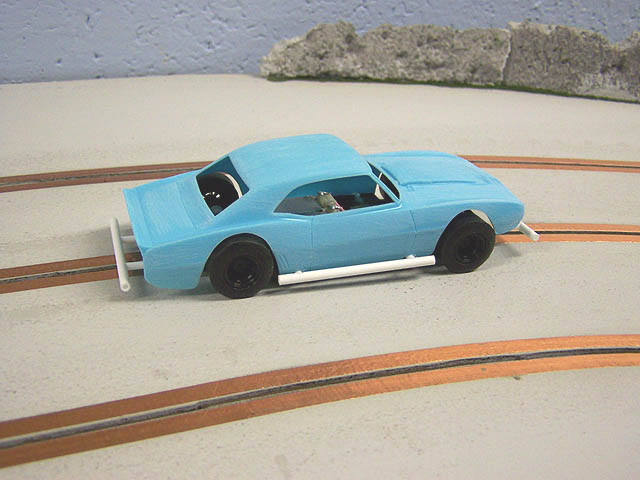
Time to head over to Part 4 and finish up our bomber!